
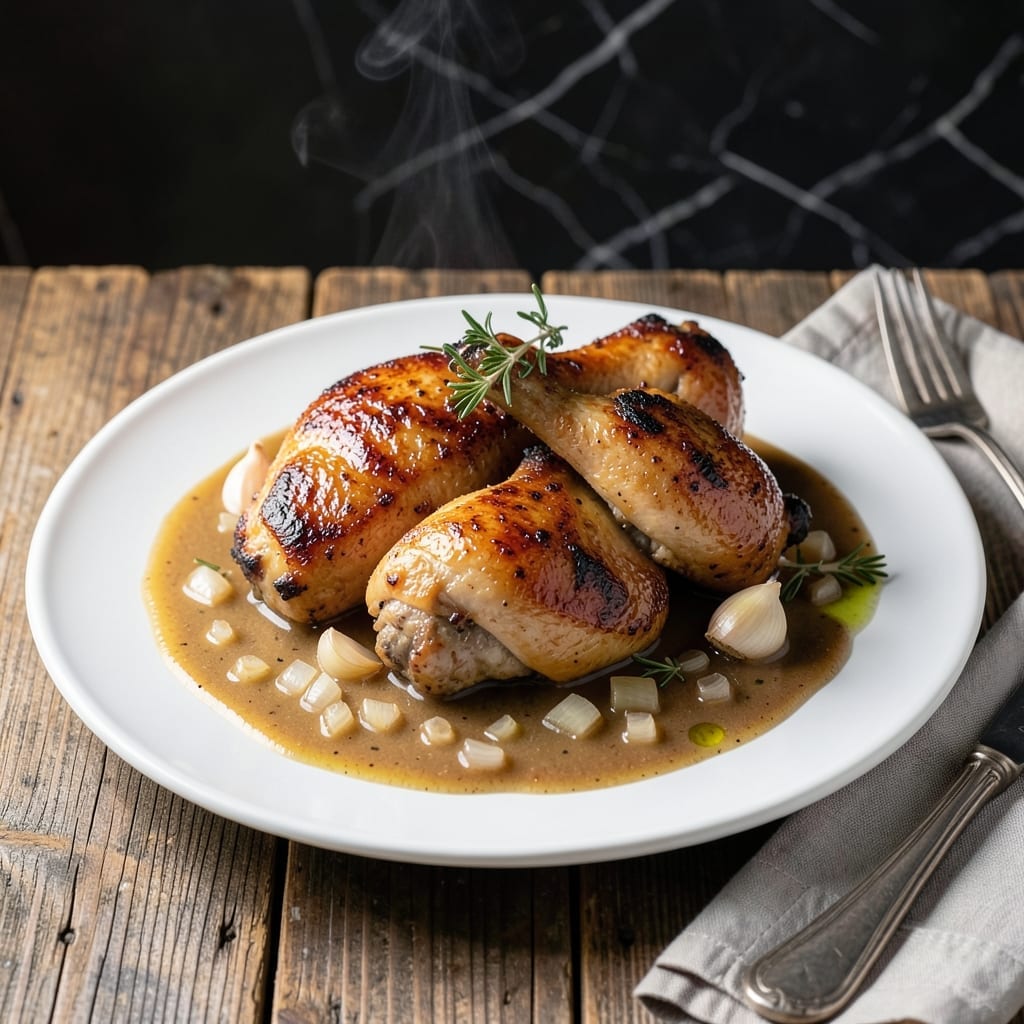
There’s nothing quite like a warm plate of tender chicken smothered in rich, homestyle gravy to bring comfort to the table. This dish delivers that nostalgic feeling with every bite, combining simple ingredients with a proven method for creamy, flavorful results.
The chicken stays juicy and tender while the gravy develops a velvety texture that clings perfectly to each piece. I’ve refined this technique over years of home cooking to ensure consistent success, even for those new to making gravy from scratch.
What you’ll love most is how the flavors meld together—savory pan drippings form the base of the gravy, creating depth that store-bought versions simply can’t match. It’s the kind of meal that feels like a warm embrace on a chilly evening.
Ready in under an hour, this recipe brings the heart of home cooking to your kitchen with minimal effort and maximum satisfaction.
Ingredients for Chicken and Gravy
Homestyle comfort starts with juicy chicken and a handful of pantry staples for that velvety gravy.
| Ingredient | Amount | Notes |
|---|---|---|
| Chicken Thighs 🍗 | 2 lb | Boneless, skinless preferred |
| All-Purpose Flour 🌾 | ½ cup | For thickening gravy |
| Unsalted Butter 🧈 | 4 tbsp | Divided for cooking and gravy |
| Onion 🧅 | 1 whole | Medium, finely chopped |
| Garlic Cloves 🧄 | 3 cloves | Minced for depth |
| Chicken Broth 🍲 | 2 cups | Low-sodium preferred |
| Whole Milk 🥛 | 1 cup | For creamy gravy |
| Salt 🧂 | 1 ½ tsp | Kosher or sea salt |
| Black Pepper 🌶️ | 1 tsp | Freshly ground for best flavor |
| Dried Thyme 🌿 | 1 tsp | For warm, earthy notes |
| Dried Rosemary 🌿 | 1 tsp | Crushed to release flavor |
| Olive Oil 🫒 | 1 tbsp | For searing chicken |
The chicken is the foundation here. Thighs stay juicier than breasts during cooking—Costco and most supermarkets sell them boneless and skinless for convenience. For the broth, Swanson or Kitchen Basics are reliable brands. The milk should be whole for that rich, creamy texture in the gravy (trust me on the full-fat version).
No dried herbs? Fresh thyme and rosemary at double the amount work beautifully. Short on broth? Water with a bouillon cube gets the job done. If you’re avoiding dairy, unsweetened almond milk can substitute in a pinch, though the gravy won’t be quite as velvety. The butter can be swapped for olive oil, but it changes the flavor profile slightly.
Leftovers keep well in the fridge for 3-4 days—the gravy thickens as it cools, so thin with a splash of broth when reheating. Freezes beautifully for up to 3 months (portion before freezing for easy meals).
Why You’ll Love This Recipe
- One Pan Magic: I brown the thighs in butter, then make the gravy right in the same pan—no extra dishes, no fuss.
- Rich Garlic Depth: The onion and garlic melt into the flour-thickened gravy, giving it that deep, savory richness.
- Feeds the Crowd: I stretch this to four servings with mashed potatoes or biscuits, and it’s always a hit.
- Leftovers? Better: Honestly, the flavors taste even richer the next day—if there’s any left.
Step-by-Step Instructions for Chicken and Gravy
Here is the method. Straightforward, tested, works every time.
Step 1: Season and Sear the Chicken Thighs
Pat the 2 lb Chicken Thighs dry with paper towels to ensure proper browning. Season both sides evenly with 1.5 tsp Salt and 1 tsp Black Pepper. This step is crucial for developing flavor in both the chicken and the gravy.
Heat 1 tbsp Olive Oil in a large skillet over medium-high heat until shimmering. Add the chicken thighs and sear for 5-6 minutes per side until golden brown and cooked through. The internal temperature should reach 165°F.
Remove the chicken from the skillet and set aside. The browned bits left in the pan will form the flavor base for your gravy.
Step 2: Sauté Aromatics for Depth of Flavor
In the same skillet, reduce heat to medium and add 2 tbsp Unsalted Butter. Once melted, add the finely chopped Onion and cook for 4-5 minutes until soft and translucent, stirring occasionally.
Add the 3 cloves minced Garlic Cloves, 1 tsp Dried Thyme, and 1 tsp Dried Rosemary. Stir constantly for 30 seconds until fragrant. Be careful not to let the garlic burn, as it will turn bitter.
Step 3: Create the Gravy Base
Sprinkle the 0.5 cup All-Purpose Flour evenly over the onion and garlic mixture. Stir well to coat the aromatics and cook for 1-2 minutes to remove the raw flour taste. This creates a roux that will thicken your gravy.
Slowly pour in the 2 cups Chicken Broth, whisking constantly to prevent lumps from forming. Scrape up any browned bits from the bottom of the skillet as you whisk—this adds rich flavor to your gravy.
Step 4: Finish the Creamy Gravy
Bring the mixture to a simmer and let it cook for 3-4 minutes until slightly thickened. Stir in the remaining 2 tbsp Unsalted Butter and the 1 cup Whole Milk. Continue to simmer for another 2-3 minutes until the gravy coats the back of a spoon.
Taste and adjust seasoning if needed. The gravy should be rich and velvety, with a balance of savory and creamy flavors.
Step 5: Combine and Serve
Return the chicken thighs to the skillet, coating them in the gravy. Simmer for 2-3 minutes to allow the flavors to meld together. The chicken should be fully warmed through and generously coated.
Serve immediately, spooning extra gravy over the top. This dish is best enjoyed fresh, with the gravy soaking into mashed potatoes or biscuits for the ultimate comfort meal.
Pro Tips For Making Chicken And Gravy
- Brown the Thighs Well: Crank the heat to medium-high and don’t move the thighs for 5-6 minutes per side—this builds the fond that makes gravy taste like it simmered all day.
- Use Cold Butter: Toss in 2 tablespoons of cold, cubed unsalted butter at the end for a glossy, rich gravy that coats the chicken instead of soaking into it.
- Skip Raw Flour: I learned this the hard way—whisk the flour into the pan drippings and cook it 1-2 minutes to kill the raw taste before adding liquid.
- Rest Before Serving: Let the chicken sit 5 minutes in the gravy off the heat—it reabsorbs juices and stays tender, even if you overcooked it slightly.
Essential Equipment for Perfect Results
Skillet Selection
I always reach for my 12-inch cast iron skillet for this recipe—Lodge makes a great one. The heavy base distributes heat evenly, preventing hot spots that can burn your roux. Plus, it goes from stovetop to oven if needed.
Whisk for Smooth Gravy
A flat whisk is my secret weapon for lump-free gravy. The wide shape lets you scrape all the browned bits from the pan while breaking up any flour clumps. I use OXO’s 11-inch whisk—it’s sturdy and comfortable.
Thermometer for Precision
Don’t guess your chicken’s doneness. A instant-read thermometer (I love ThermoWorks’ ThermoPop) ensures your thighs hit 165°F perfectly every time. It’s a small investment that makes a huge difference. 🌡️
Wooden Spoon for Stirring
A wooden spoon won’t scratch your skillet and is gentle on nonstick surfaces. I prefer bamboo for its durability. Use it to stir your roux constantly to prevent burning and develop that rich, nutty flavor base.
Measuring Cups for Accuracy
For consistent gravy thickness, measure your 0.5 cup flour and 2 cups broth precisely. I use Pyrex glass measuring cups—they’re heatproof if you need to warm liquids and have clear markings.
Fine Mesh Strainer
If your gravy does develop lumps, a fine mesh strainer saves the day. I press the mixture through Cuisinox’s strainer for silky-smooth results. This is also useful if you prefer a perfectly smooth gravy texture. 💫
Nutrition Facts
Frequently Asked Questions
Can I use chicken breasts instead of thighs?
Yes, but thighs stay juicier. If using breasts, reduce cooking time to 4-5 minutes per side and monitor internal temperature to avoid dryness.
How do I fix lumpy gravy?
Whisk vigorously to break up lumps or press through a fine mesh strainer. For prevention, sprinkle flour slowly while whisking constantly.
Can I make this dairy-free?
Substitute unsweetened almond milk for whole milk and use olive oil instead of butter. The gravy will be less rich but still flavorful.
How long can I store leftovers?
Keep in an airtight container in the fridge for 3-4 days or freeze for up to 3 months. Thin with broth when reheating.

- Jollof Rice Sauce Recipe: West African Tomato and Spice Infusion - September 25, 2026
- Japanese Rice Soup Recipe: Umami-Rich Comfort in a Bowl - September 25, 2026
- Homemade Cream Of Rice Recipe: Silk-Smooth Breakfast in Minutes - September 25, 2026