
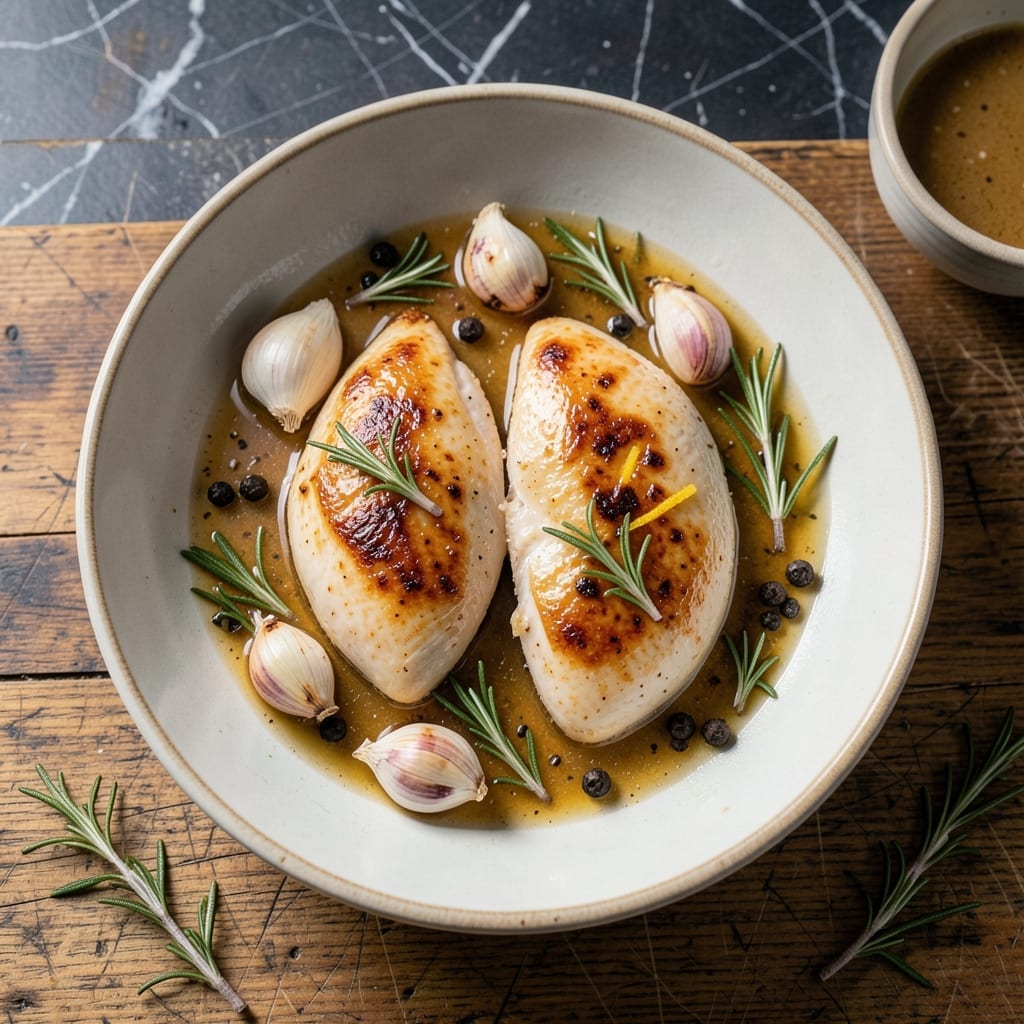
Achieving moist chicken breast every time is simpler than you think with this proven method. The key lies in proper brining and precise cooking temperature—no more dry, rubbery results.
I developed this technique after years of testing, focusing on locking in juices while delivering consistent flavor. A quick brine enhances natural moisture, while a hot pan creates a golden crust without overcooking the inside.
What you get is tender, juicy chicken with perfectly seasoned meat throughout. The exterior develops a light sear that adds texture, while the interior stays succulent and flavorful.
This method works for weeknight dinners or meal prep, delivering professional results with minimal effort. The chicken stays juicy even when reheated.
Ingredients for Chicken Breas
Few ingredients, precise technique. Brine locks in moisture for perfect chicken every time.
| Ingredient | Amount | Notes |
|---|---|---|
| Boneless Skinless Chicken Breasts 🍗 | 1 ½ lb | Pounded to even thickness |
| Kosher Salt 🧂 | ¼ cup | Diamond Crystal preferred for brining |
| Granulated Sugar 🍚 | 2 tbsp | Balances brine salinity |
| Cold Water 💧 | 4 cups | For brine solution |
| Black Peppercorns 🌶️ | 1 tbsp | Freshly cracked for brining |
| Garlic Cloves 🧄 | 4 cloves | Smashed for brine infusion |
| Fresh Rosemary Sprigs 🌿 | 2 whole | Optional for aromatic brine |
| Olive Oil 🫒 | 2 tbsp | High smoke point for searing |
| Unsalted Butter 🧈 | 2 tbsp | For basting while cooking |
| Dried Thyme 🍃 | 1 tsp | For seasoning crust |
| Smoked Paprika 🌶️ | 1 tsp | Adds depth to seasoning |
| Fresh Parsley 🌿 | ¼ cup | Chopped, for garnish |
The chicken quality is non-negotiable. Air-chilled, free-range breasts from Whole Foods or Trader Joe’s yield superior texture. For brining, Diamond Crystal kosher salt dissolves cleanly—avoid iodized table salt. The sugar isn’t just for sweetness; it creates a balanced osmotic environment that ensures even seasoning penetration. Fresh herbs in the brine (like rosemary) add subtle depth without overpowering.
No fresh herbs? Dried thyme or oregano at half the quantity works in the brine. Short on time? A 30-minute quick brine still improves moisture retention significantly. For searing, avocado oil can substitute for olive oil if you need a higher smoke point. The butter basting is essential—don’t skip it. Want more flavor? Add a splash of lemon juice to the brine.
Brined chicken keeps raw in the fridge for 24 hours maximum. Cooked, it stays juicy for 4 days refrigerated or freezes beautifully for 3 months. Always bring chicken to room temperature before cooking for even doneness. The brine works for thighs too—just adjust cooking time accordingly.
Why You’ll Love This Recipe
- Set and Forget: I can prep this in the morning with just chicken, salt, sugar, and water, then let it brine in the fridge while I handle my day.
- Juicy Every Time: The sugar-salt brine locks in moisture so the chicken stays tender—no more dry, chewy bites.
- Meal Prep Hero: I cook a big batch Sunday and use it in salads, wraps, or stir-fries all week long.
- Budget Stretch: Boneless skinless chicken breasts are affordable, and this method makes them taste way more expensive than they are.
Step-by-Step Instructions for Juicy Chicken Breast
This method ensures tender, flavorful results through precise brining and perfect searing technique.
Step 1: Brine the Chicken for Maximum Moisture
In a large bowl, combine the 0.25 cup Kosher Salt, 2 tbsp Granulated Sugar, 4 cups Cold Water, 1 tbsp Black Peppercorns, 4 cloves Garlic Cloves, and 2 whole Fresh Rosemary Sprigs. Stir until the salt and sugar fully dissolve—this creates the ideal brine concentration for moisture retention.
Submerge the 1.5 lb Boneless Skinless Chicken Breasts in the brine, ensuring they’re completely covered. Refrigerate for 4-6 hours. The brine penetrates the meat, breaking down proteins to guarantee a juicy result. Don’t exceed 8 hours or the texture may become mealy.
Step 2: Prep and Season the Chicken
Remove the chicken from the brine and pat thoroughly dry with paper towels. This step is crucial—any surface moisture will steam the chicken rather than sear it. Pound the breasts to an even ¾-inch thickness to ensure uniform cooking.
Combine the 1 tsp Dried Thyme and 1 tsp Smoked Paprika in a small bowl, then rub this mixture evenly over all sides of the chicken. The paprika adds a subtle smokiness that complements the herbs. Let the seasoned chicken rest at room temperature for 15 minutes before cooking.
Step 3: Sear to Golden Perfection
Heat the 2 tbsp Olive Oil in a large skillet over medium-high heat until it shimmers but doesn’t smoke. Add the chicken breasts and sear undisturbed for 5-6 minutes until the underside develops a deep golden-brown crust.
Flip the chicken and immediately add the 2 tbsp Unsalted Butter to the pan. As the butter melts, spoon it over the chicken repeatedly to baste the tops. Cook for another 4-5 minutes until the internal temperature reaches 160°F.
Step 4: Rest and Serve
Transfer the chicken to a cutting board and tent loosely with foil. Let it rest for 8-10 minutes—this allows the juices to redistribute throughout the meat. Slicing too soon will cause all those precious juices to spill onto the board.
Garnish with the 0.25 cup Fresh Parsley before serving. The parsley adds a fresh contrast to the rich, savory flavors. Each slice should reveal a uniformly cooked interior with a perfectly seared exterior.
Pro Tips For Making Chicken Breas
- Brine the Chicken: Soak the chicken breasts in cold water with ¼ cup kosher salt and 2 tablespoons sugar for 30 minutes—this keeps them juicy even if you overcook slightly.
- Pound Evenly: Use a rolling pin or meat mallet to pound the chicken to an even ½-inch thickness so it cooks through without drying out.
- Skip Dry Peppercorns: Crush the black peppercorns lightly before using—whole ones won’t release enough flavor in the time it takes to cook chicken breasts.
- Rest Before Slicing: Let the chicken rest for 5-10 minutes after cooking, tented with foil, to keep the juices inside where they belong.
Common Mistakes When Making This Recipe
Over-Brining the Meat
Leaving chicken in brine for more than 8 hours starts breaking down its proteins too much, resulting in a mushy texture. I learned this the hard way when my first attempt turned out mealy. Stick to 4-6 hours for optimal moisture without compromising texture.
Skipping the Dry Pat
Wet chicken won’t sear—it’ll steam. After brining, pat the breasts completely dry with paper towels. This ensures a proper crust forms in the pan. I use 3-4 paper towels per breast to get every surface dry. 💡
Uneven Thickness
Breasts vary in thickness, so pounding them to ¾-inch ensures even cooking. Skip this step, and you’ll end up with dry edges while the center finishes. A meat mallet or rolling pin works perfectly for this.
Peeking While Searing
Resist the urge to check the chicken during the first 5-6 minutes of searing. The crust needs undisturbed contact to develop properly. I set a timer to avoid the temptation to peek too soon.
Cutting Too Soon
Resting for 8-10 minutes lets juices redistribute. Slice immediately, and they’ll spill onto the cutting board. Tent with foil to keep it warm while resting. This step makes all the difference in moisture. 🔥
Wrong Internal Temp
Chicken is safe at 165°F, but pulling it at 160°F prevents overcooking as it carries over to perfect doneness. Use an instant-read thermometer—I recommend ThermoWorks for accuracy.
Nutrition Facts
Frequently Asked Questions
Why brine chicken before cooking?
Brining adds moisture and flavor while preventing dryness. A 4-6 hour soak in saltwater solution breaks down proteins, letting the meat retain juices during cooking. It’s the secret to consistently tender results.
Can I skip pounding the chicken?
Pounding to ¾-inch thickness ensures even cooking. Without this, thicker parts may stay raw while thin edges dry out. Use a mallet or rolling pin for uniform results.
How do I know when it’s done?
Use a meat thermometer—pull at 160°F (it rises to 165°F while resting). Avoid cutting to check; this releases juices. Rest for 8-10 minutes before serving.
What if my chicken is dry?
Overcooking or skipping the brine are likely culprits. Next time, brine for 4-6 hours and pull at 160°F. Let it rest before slicing to lock in moisture.

- Jollof Rice Sauce Recipe: West African Tomato and Spice Infusion - September 25, 2026
- Japanese Rice Soup Recipe: Umami-Rich Comfort in a Bowl - September 25, 2026
- Homemade Cream Of Rice Recipe: Silk-Smooth Breakfast in Minutes - September 25, 2026