
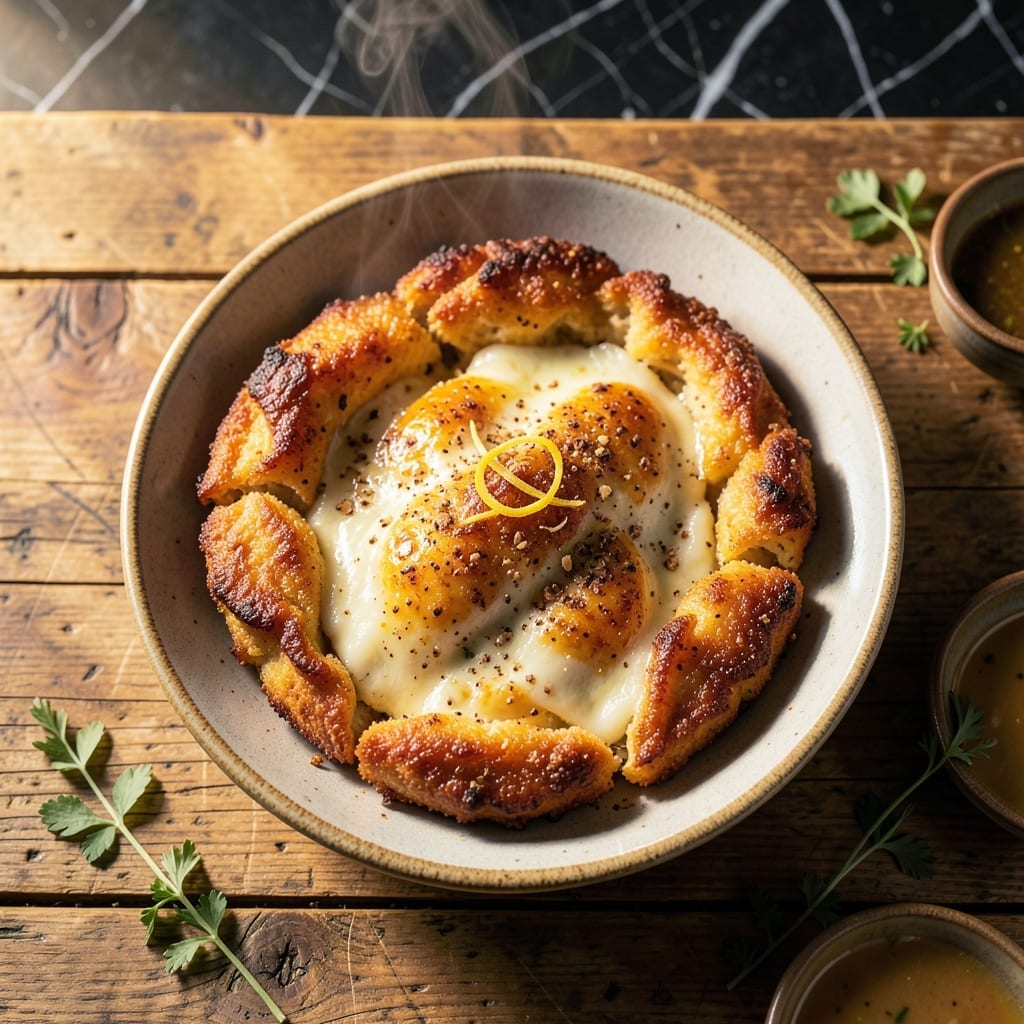
I developed this recipe after years of searching for a low-carb alternative to traditional pizza crust that actually holds up to toppings. The solution lies in ground chicken combined with eggs and seasonings, baked until perfectly crispy.
The chicken forms a sturdy base that browns beautifully in the oven, creating the ideal foundation for your favorite toppings. Unlike cauliflower crusts, this version maintains its structure without falling apart when sliced.
What you get is a golden, flavorful crust that satisfies that pizza craving without the carbs. It bakes in under 20 minutes, making it a quick solution for weeknight dinners.
Customize with any toppings you love. Here’s how to make this game-changing base.
Ingredients for Chicken Crust
Ground chicken, eggs, and seasonings create this sturdy, crispy, low-carb base for any topping.
| Ingredient | Amount | Notes |
|---|---|---|
| Ground Chicken 🍗 | 1 ½ lb | Lean or regular, your choice |
| Large Eggs 🥚 | 2 whole | Room temperature for binding |
| Parmesan Cheese 🧀 | ½ cup | Freshly grated for best texture |
| Almond Flour 🌰 | ½ cup | Fine, blanched variety preferred |
| Garlic Powder 🧄 | 1 tsp | Not garlic salt |
| Onion Powder 🧅 | 1 tsp | Balances the savory depth |
| Dried Oregano 🌿 | 1 tsp | Mediterranean oregano ideal |
| Salt 🧂 | ¾ tsp | Diamond Crystal kosher preferred |
| Black Pepper 🌶️ | ½ tsp | Freshly ground for punch |
| Olive Oil 🫒 | 1 tbsp | For greasing the pan |
| Red Pepper Flakes 🌶️ | ¼ tsp | Optional for a subtle kick |
The ground chicken is the foundation here—look for fresh, high-quality meat at Whole Foods or your local butcher. I prefer a mix of dark and white meat for flavor, but breast alone works if you’re watching fat. The Parmesan needs to be freshly grated (the pre-shredded stuff has anti-caking agents that mess with the texture). Almond flour from Bob’s Red Mill or King Arthur gives the best consistency.
No almond flour? Coconut flour at half the amount works but dries out faster. Out of Parmesan? Pecorino Romano adds a sharper bite. The eggs are non-negotiable for binding, but if you’re in a pinch, 1/4 cup unsweetened applesauce per egg can work (texture will differ). For extra crispiness, press the mixture as thin as possible before baking.
The crust holds up best when baked and topped immediately. Leftovers keep in the fridge for 3-4 days, but the texture changes—re-crisp in a toaster oven. Freeze the base alone for up to 2 months (thaw before topping and baking).
Why You’ll Love This Recipe
- 5-Minute Mix: I dump everything in one bowl—ground chicken, eggs, parmesan, almond flour, garlic powder—and mix. No fancy steps.
- Cheesy Garlic Bite: That parmesan and garlic powder combo gives it a rich, savory kick. Honestly, it’s the kind of flavor that makes you go back for seconds.
- Meal Prep Hero: I make a batch on Sunday and use it for pizza crust, breadsticks, or even as a wrap. One recipe, endless options.
- Budget Stretcher: Ground chicken and almond flour keep costs low. I’ll be real: it’s a solid, filling base that doesn’t break the bank.
Step-by-Step Instructions for Chicken Crust
Here’s my tested method for achieving a perfectly crispy, sturdy base every time.
Step 1: Combine Dry Ingredients for Maximum Flavor
In a large bowl, whisk together the 1.5 lb Ground Chicken, 0.5 cup Almond Flour, 0.5 cup Parmesan Cheese, 1 tsp Garlic Powder, 1 tsp Onion Powder, 1 tsp Dried Oregano, 0.75 tsp Salt, 0.5 tsp Black Pepper, and 0.25 tsp Red Pepper Flakes until uniformly combined.
This blend creates the structural foundation of your crust. The Parmesan adds umami depth while the almond flour binds everything together. I always use freshly grated Parmesan—it melts better and creates a superior texture compared to pre-grated.
Step 2: Incorporate Eggs for Binding
Create a well in the center of your dry mixture and add the 2 whole Large Eggs. Using your hands or a fork, mix thoroughly until the eggs are fully distributed and the mixture becomes sticky and cohesive.
The eggs act as the glue that holds everything together during cooking. I’ve found that room temperature eggs incorporate more evenly than cold ones. The mixture should hold together when pressed but still feel slightly tacky—this is perfect.
Step 3: Shape and Press the Crust
Line a baking sheet with parchment paper and brush it with the 1 tbsp Olive Oil. Transfer your chicken mixture to the pan and press it into an even layer, about ¼-inch thick, using your hands or a spatula.
Here’s the thing—press firmly and evenly. Any thin spots will overcook while thicker areas might stay underdone. I use the bottom of a measuring cup to create a perfectly flat surface. The edges should be slightly raised to contain toppings if you’re using this as a pizza base.
Step 4: Bake to Golden, Crispy Perfection
Preheat your oven to 400°F. Bake the crust for 15-18 minutes until the edges are deep golden brown and the center is firm to the touch. You’ll see the Parmesan starting to crisp at the edges—that’s your visual cue it’s ready.
Don’t underbake. The crust needs to reach this stage to hold up to toppings. If you’re adding toppings like sauce and cheese, return it to the oven for another 5-8 minutes after topping. For a standalone crispy base, this initial bake is sufficient.
Step 5: Cool Slightly Before Topping or Serving
Remove from the oven and let the crust cool for 2-3 minutes before adding toppings. This brief rest firms up the structure, preventing sogginess when you add wet ingredients.
If you’re using this as a pizza base, the crust should be sturdy enough to hold its shape when you lift a slice. For maximum crispiness, I sometimes finish it under the broiler for 1-2 minutes at the very end, but watch it constantly to prevent burning.
Pro Tips For Making Chicken Crust
- Pre-Cook the Chicken: Brown the ground chicken first and let it cool—I learned this the hard way after my crust stayed soggy because the raw meat released too much moisture.
- Squeeze Out Liquid: After cooking the chicken, press it between paper towels to remove every last drop of liquid, or your crust will be gummy instead of crisp.
- Chill the Mixture: Refrigerate the chicken, egg, and cheese blend for 15 minutes before shaping; it holds together way better and doesn’t stick to your hands.
- Use Fresh Parmesan: Skip the pre-grated stuff—freshly grated Parmesan melts smoother and binds the crust without that weird grainy texture.
Storing and Reheating This chicken crust
Refrigerator Storage
Let your crust cool completely before storing—this prevents condensation. Place in an airtight container with parchment between layers. It keeps for 3-4 days at 40°F or below. The texture softens slightly, but a quick re-crisp fixes that. ❄️
Freezer Storage
For longer storage, freeze the baked crust alone for up to 2 months. Wrap individual portions in plastic wrap, then place in a freezer bag. Squeeze out excess air to prevent freezer burn. Label with the date to track freshness.
Oven Reheating
Preheat to 375°F and place the crust directly on the rack for 5-7 minutes. This restores crispiness better than any other method. For topped versions, add toppings after reheating to avoid sogginess.
Toaster Oven Method
My go-to for quick crisping. Set to 400°F and heat for 3-4 minutes. Watch closely—the edges can brown fast. Perfect for single servings. 🔥
Microwave Reheating
Use only if desperate. Place on a paper towel and heat for 30-45 seconds at 50% power. The texture won’t be as crisp, but it’s fast. Add a splash of water to the container to prevent drying.
Nutrition Facts
Frequently Asked Questions
Can I use ground turkey instead?
Yes, ground turkey works as a direct substitute in equal amounts. The texture will be slightly leaner, so add 1 tbsp olive oil to the mixture to compensate for lower fat content.
Why did my crust turn out soggy?
This usually happens if it wasn’t baked long enough. Ensure it reaches deep golden brown and bakes for the full 15-18 minutes. Pressing it too thick can also trap moisture.
Do I need to pre-cook the chicken?
No, the raw ground chicken cooks perfectly during the baking process. The 400°F oven temperature ensures it reaches a safe internal temperature while creating a crispy exterior.
Can I make this ahead of time?
Prepare the mixture and press it into shape, then refrigerate for up to 24 hours before baking. Or bake the crust alone and store it in the fridge for 3-4 days.

- Jollof Rice Sauce Recipe: West African Tomato and Spice Infusion - September 25, 2026
- Japanese Rice Soup Recipe: Umami-Rich Comfort in a Bowl - September 25, 2026
- Homemade Cream Of Rice Recipe: Silk-Smooth Breakfast in Minutes - September 25, 2026