
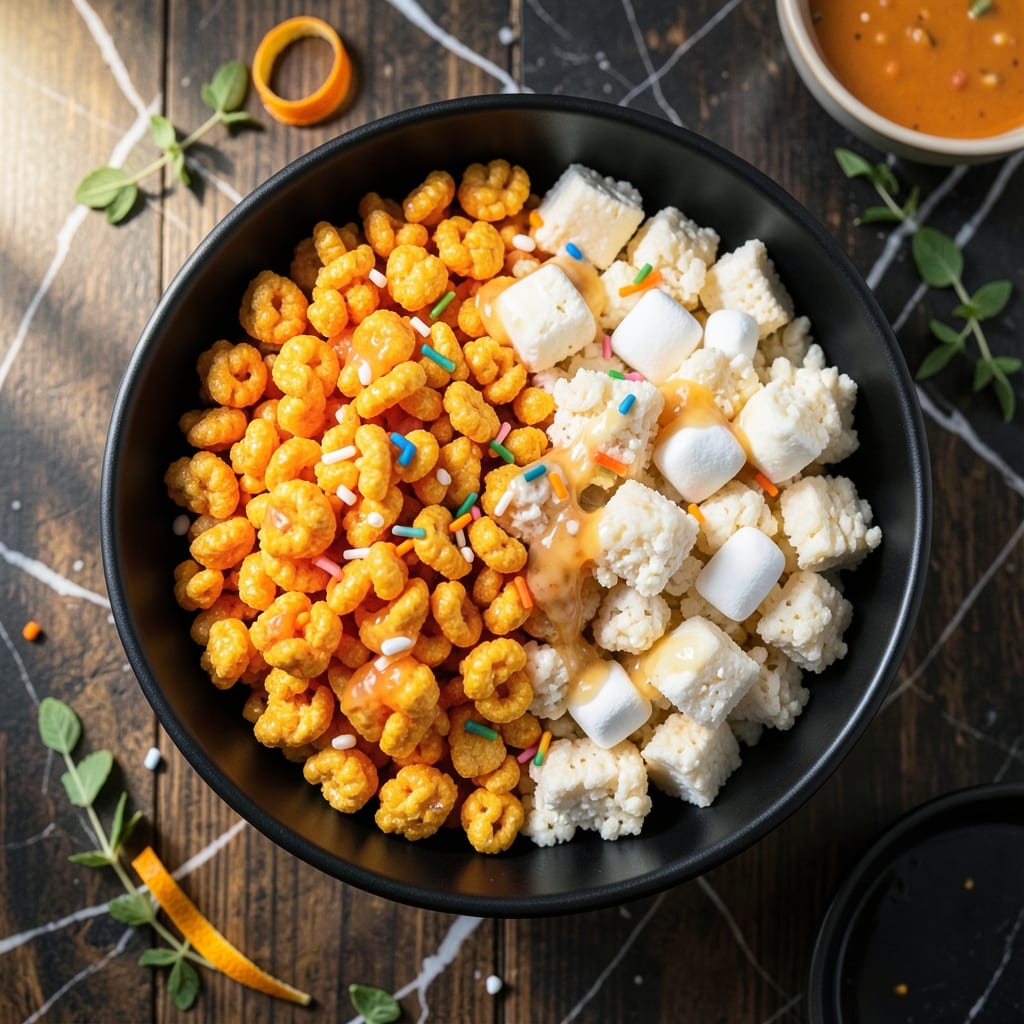
I’ve tested this Halloween twist on classic rice crispy treats more times than I’d like to admit, always in my tiny Boston kitchen. The result is a crispy base with a spooky, festive flair that comes together fast.
This method delivers perfectly chewy centers and that signature crunch without any guesswork. Orange food coloring transforms the marshmallow mixture into a vibrant Halloween hue, while simple shaping turns them into ghosts, pumpkins, or monsters.
You’ll have a batch of these in 15 minutes, with minimal cleanup and maximum fun. The treats hold their shape once cooled, making them ideal for parties or classroom celebrations.
Between you and me, these disappear even faster than the original. Here’s how to make them.
Ingredients for Halloween Rice Crispy
Nine ingredients turn classic treats into festive Halloween magic in minutes.
| Ingredient | Amount | Notes |
|---|---|---|
| Rice Krispies Cereal 🥣 | 6 cups | Classic crispy rice cereal |
| Mini Marshmallows 🍬 | 10 oz | Regular or vegetarian marshmallows |
| Butter 🧈 | 3 tbsp | Salted or unsalted works |
| Orange Food Coloring 🟠 | 1 tsp | Gel or liquid type |
| Vanilla Extract 💧 | 1 tsp | Pure extract preferred |
| Pinch of Salt 🧂 | 1 pinch | Balances sweetness |
| Powdered Sugar 🍚 | ¼ cup | For dusting if desired |
| Edible Candy Eyes 👀 | 24 pieces | Optional for ghost shapes |
| Green Food Coloring 🟢 | ½ tsp | For monster variations |
| Black Icing Gel ⚫ | 1 tbsp | For drawing faces |
The marshmallows are key here. Jet-Puffed or Kraft brands melt smoothly every time (the store brand can get stringy). I grab mine from Target or Stop & Shop in Boston—whatever’s on sale. Butter quality doesn’t matter much, but real vanilla extract beats imitation. For food coloring, Wilton gel gives the most vibrant orange without thinning the mixture.
No orange food coloring? Yellow plus red at a 3:1 ratio gets you close. Vegetarian marshmallows (like Dandies) work perfectly. Want to skip the candy eyes? Chocolate chips or raisins make great monster features. The powdered sugar is optional but adds a nice finish—just dust lightly so it doesn’t overpower the crispy texture.
These keep at room temperature in an airtight container for 3-4 days. Best made the day of serving though—they’re freshest when the marshmallow is still slightly tacky. Freezing isn’t recommended (they get soggy). One batch makes about 12 treats—perfect for class parties.
Why You’ll Love This Recipe
- One-Pot Magic: I melt the butter and marshmallows in a single pot, stir in the cereal and food coloring, and we’re done—no fancy equipment or cleanup.
- Vanilla-Kissed Crunch: The vanilla extract adds this warm, cozy depth that makes the sweet marshmallow and crispy cereal combo ridicously good.
- Party-Ready in Minutes: Honestly, I can shape these into pumpkins or ghosts in under 20 minutes flat for last-minute Halloween parties.
- Budget Stretcher: A box of cereal and a bag of mini marshmallows feeds a crowd for pennies, and leftovers keep well for days.
Step-by-Step Instructions for Halloween Rice Krispy Treats
These spooky treats come together quickly with just a few festive twists on classic technique.
Step 1: Melt Butter and Prepare Marshmallow Base
In a large pot, melt the 3 tbsp Butter over low heat to prevent burning. As soon as it’s completely melted, add the entire 10 oz Mini Marshmallows and stir constantly with a silicone spatula.
The marshmallows will begin to melt slowly at first, then all at once. Keep stirring until the mixture becomes completely smooth and glossy—this should take about 3-4 minutes. Remove from heat immediately once fully melted to avoid scorching.
Stir in the 1 tsp Vanilla Extract and 1 pinch Pinch of Salt. The vanilla adds depth, while the salt balances the sweetness perfectly. This is your base for all the spooky variations.
Step 2: Create Colored Batches for Different Effects
Divide the melted marshmallow mixture evenly between two bowls. To one bowl, add the 1 tsp Orange Food Coloring and stir until completely incorporated. For the second bowl, add the 0.5 tsp Green Food Coloring and mix thoroughly.
I’ve found that gel food coloring works best here, giving you vibrant hues without adding extra liquid to the mixture. The orange batch will create your classic pumpkin-colored treats, while the green batch forms the base for monster variations.
Step 3: Mix in Cereal and Shape the Treats
Working quickly while the marshmallow mixture is still warm, add 3 cups Rice Krispies Cereal to each colored bowl. Gently fold the cereal into the marshmallow mixture until every piece is evenly coated. The cereal should glisten with the colored marshmallow coating.
For the orange batch, press the mixture into a greased 8×8-inch pan for classic squares. For the green batch, form into 12 small monster mounds on parchment paper. Use lightly buttered hands to prevent sticking—this makes shaping much easier.
Let both batches cool at room temperature for 10 minutes until firm enough to handle.
Step 4: Add Spooky Details and Finishing Touches
Once cooled, use the 1 tbsp Black Icing Gel to draw jack-o’-lantern faces on the orange squares or monster expressions on the green mounds. The gel works like edible paint—use a toothpick to create fine details for eyes, mouths, and other spooky features.
For ghost shapes, form some of the orange mixture into ovals and press two Edible Candy Eyes into each one while still warm. Then, once cooled, use the black icing gel to add a screaming mouth.
Finally, dust the treats lightly with 0.25 cup Powdered Sugar for a snowy effect or to mute the colors slightly for a more vintage Halloween look. This step is optional but adds a professional touch.
Pro Tips For Making Halloween Rice Crispy
- Melt Butter Low: Use low heat when melting the butter with marshmallows—high heat will burn the sugar and give your treats a bitter taste.
- Use Fresh Cereal: I learned this the hard way—old Rice Krispies lose their snap, so check the box date for maximum crunch.
- Add Color Early: Stir the orange food coloring into the melted butter before adding marshmallows to distribute it evenly without streaks.
- Press While Warm: Shape the mixture into pans or molds while it’s still warm, or it’ll harden too fast and crack when you try to cut it.
Storing and Reheating This halloween rice crispy
Room Temperature Storage
Once completely cooled, store these in an airtight container at room temperature. They stay fresh for 3-4 days this way. I line my container with parchment paper to prevent sticking, especially if I’ve added powdered sugar.
Layering for Parties
For stackable party trays, place parchment between layers to prevent the treats from fusing together. The orange and green colors will stay vibrant if kept away from direct sunlight. Honestly, they disappear so fast that storage is rarely an issue! 💛
Avoid the Fridge
Refrigeration actually speeds up staling—it makes the cereal lose its crispness faster. Only refrigerate if your kitchen is unusually warm or humid. In my Boston apartment, room temperature works perfectly fine year-round.
Reheating Not Needed
These treats are best enjoyed at room temperature. If they’ve gotten slightly hard, leave them uncovered for 30 minutes to let them soften naturally. Microwaving will make them sticky and ruin the texture.
Freezing Not Recommended
Freezing turns the cereal soggy and the marshmallow rubbery. If you must freeze, wrap each treat individually in plastic wrap and consume within 2 weeks. Thaw at room temperature for 1 hour before serving. ❄️
Prep Ahead Tip
You can shape and decorate these 1 day ahead—just store in a single layer until ready to serve. The black icing gel sets firmly, so your spooky designs won’t smudge if handled carefully.
Nutrition Facts
Frequently Asked Questions
Can I make these without food coloring?
Skip the coloring and use natural hues like cocoa powder for brown or matcha for green. The treats will still taste great and look festive with creative shapes.
How do I keep them from sticking to my hands?
Lightly butter or oil your hands before shaping. This prevents sticking while keeping the mixture easy to mold into spooky shapes.
What if my marshmallows won’t melt smoothly?
Use low heat and stir constantly. If the mixture seems grainy, add 1 tsp of water and continue stirring until smooth.
Can I use regular marshmallows instead of mini?
Yes, but cut them into smaller pieces first. They’ll melt faster and more evenly, giving you the same creamy texture as minis.

- Ground Beef Rice and Beans Recipe: Slow-Simmered Savory Harmony - October 17, 2026
- Guyanese Fried Rice Recipe: Caribbean Spice With Wok-Charred Aromatics - October 17, 2026
- Hakka Thunder Tea Rice Recipe: Wok-Charred Herbal Infusion - October 17, 2026