
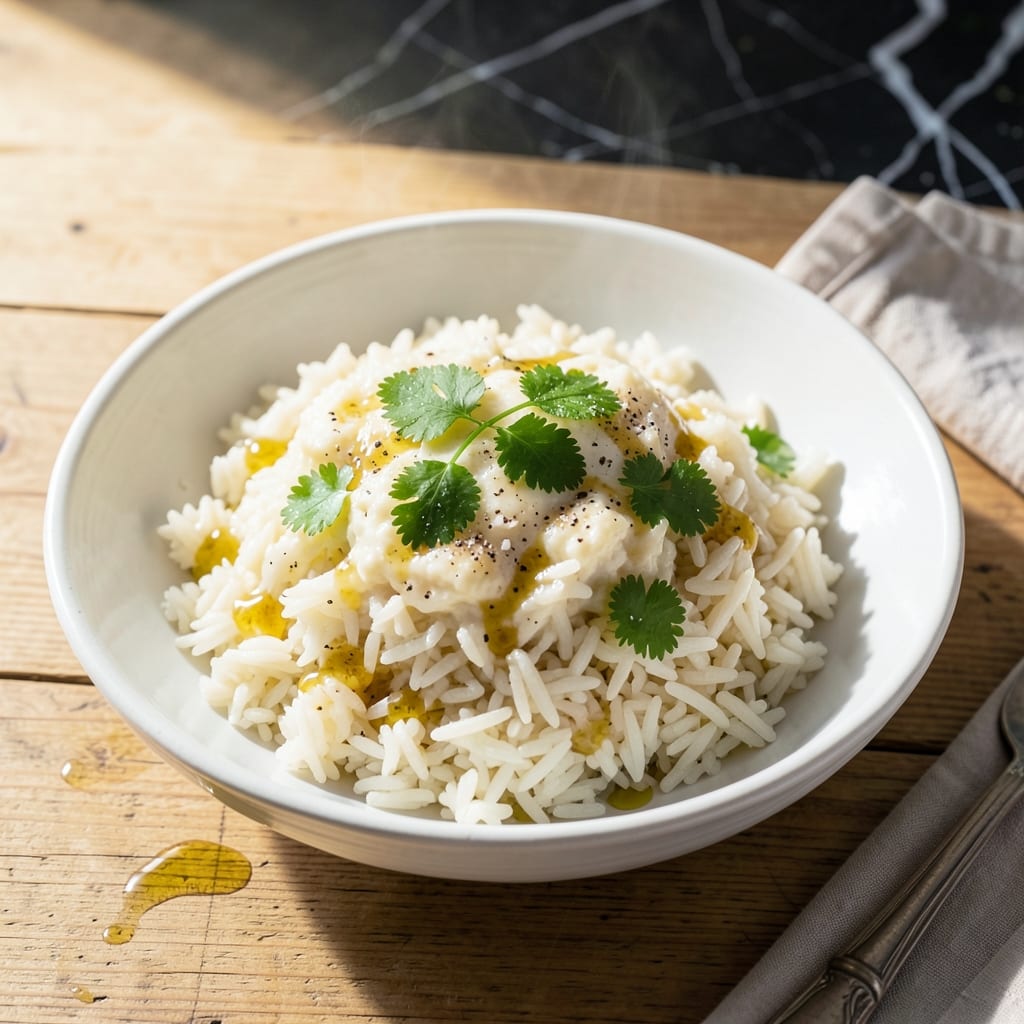
Perfectly cooked rice every time is possible with this foolproof Instant Pot method. No more sticky or undercooked grains—just consistent, fluffy results with minimal effort.
The key lies in the precise water-to-rice ratio and proper pressure cooking technique. For 2 cups of long-grain white rice, you’ll need exactly 2 cups of water and 3 minutes of high pressure cooking.
After the cooking cycle completes, a natural release ensures the rice absorbs all the moisture evenly. The result? Light, separate grains that are tender without being mushy.
This method works for any meal, from stir-fries to simple sides. No babysitting, no guesswork—just set it and forget it.
Ingredients for Instant Pot Rice Recipe 2 Cups
Minimal ingredients deliver maximum fluffiness with this precise Instant Pot method.
| Ingredient | Amount | Notes |
|---|---|---|
| Long-Grain White Rice 🍚 | 2 cups | Rinsed until water runs clear |
| Water 💧 | 2 cups | Filtered or tap, room temperature |
| Fine Sea Salt 🧂 | ½ tsp | Adjust to taste after cooking |
| Neutral Cooking Oil 🫒 | 1 tsp | Optional, for pot coating |
| Butter or Vegan Butter 🧈 | 1 tbsp | Optional, for serving |
| Fresh Cilantro 🌿 | 2 tbsp | Chopped, for garnish |
| Lime Wedges 🍈 | 4 pieces | For serving, optional |
| Garlic Powder 🧄 | ¼ tsp | Optional, for flavor boost |
| Onion Powder 🧅 | ¼ tsp | Optional, for depth |
| Bay Leaf 🍃 | 1 whole | Optional, for aroma |
The rice quality matters most here. Long-grain white rice (jasmine or basmati) yields the fluffiest results. Avoid short-grain varieties as they turn sticky. Lundberg or Carolina brands are reliable for consistency. Rinse the rice thoroughly—this removes excess starch that causes gumminess. The water ratio is non-negotiable: 1:1 by volume for perfect texture every time.
No long-grain white? Basmati works at the same ratio. Brown rice needs more water (1:1.25) and double the cook time. For extra flavor, use vegetable broth instead of water. Skip the oil if you prefer, but it helps prevent sticking. The optional aromatics (garlic, onion, bay) add depth without overpowering—use sparingly.
Cooked rice holds well in the Instant Pot on warm for 2-3 hours. Store leftovers in an airtight container for up to 5 days in the fridge, or freeze for 1 month. Reheat with a splash of water to restore moisture. This batch serves 4 as a side.
Why You’ll Love This Recipe
- Set and Forget: Honestly, I just dump everything in, press a button, and walk away—the Instant Pot does all the work.
- Buttery Goodness: That little pat of butter melts right in, giving the rice a rich, comforting flavor that plain water just can’t match.
- Feeds the Week: I make a double batch on Sunday and it’s perfect for stir-fries, burrito bowls, or just reheated with a fried egg on top.
- Pennywise Staple: A 2-cup batch costs pennies, stretches into multiple meals, and keeps well in the fridge for days.
Step-by-Step Instructions for Instant Pot Rice
Master this technique for consistently perfect, fluffy results with minimal effort.
Step 1: Rinse and Prepare the Rice
Place the 2 cups Long-Grain White Rice in a fine-mesh strainer and rinse under cold running water until the water runs completely clear. This removes excess starch that could make your rice gummy rather than fluffy.
While rinsing, I swirl the rice with my hand to ensure all grains are exposed to the water. Once rinsed, shake the strainer gently to remove as much water as possible. Set the rice aside while you prepare the Instant Pot.
Step 2: Sauté Aromatics (Optional but Recommended)
Select the “Sauté” function on your Instant Pot and add the 1 tsp Neutral Cooking Oil. Once the oil shimmers, add the 0.25 tsp Garlic Powder, 0.25 tsp Onion Powder, and 1 whole Bay Leaf.
Toast these for 30-45 seconds until fragrant—this blooms the spices and infuses the oil with flavor. Immediately add the 2 cups Water and stir to deglaze the pot, scraping up any browned bits. This prevents burning and ensures all that flavor is incorporated into the rice.
Step 3: Pressure Cook the Rice
Add the rinsed 2 cups Long-Grain White Rice and 0.5 tsp Fine Sea Salt to the Instant Pot. Stir to combine, ensuring the rice is fully submerged in the water. Secure the lid, set the valve to “Sealing,” and select the “Pressure Cook” or “Manual” function.
Set the timer for 3 minutes on high pressure. The Instant Pot will take 8-10 minutes to come to pressure before the cooking time begins. Once the timer beeps, allow the pressure to release naturally for 10 minutes, then carefully switch the valve to “Venting” to release any remaining pressure.
Step 4: Rest and Fluff the Rice
Once the pressure has fully released, open the lid and let the rice sit undisturbed for 5 minutes. This resting period allows the grains to absorb any remaining liquid and finish steaming.
After resting, use a fork to gently fluff the rice from the bottom up. This separates the grains without crushing them. If you prefer, stir in the 1 tbsp Butter or Vegan Butter at this stage for added richness.
Step 5: Garnish and Serve
Transfer the rice to a serving bowl or individual plates. Garnish with 2 tbsp Fresh Cilantro for a bright, fresh contrast. Serve with the 4 pieces Lime Wedges on the side for a zesty finish.
The rice should be light, separate, and perfectly tender with no hard or mushy bits. Taste and adjust seasoning with additional salt if needed, though I find the 0.5 tsp Fine Sea Salt is usually perfect for the 2 cups Long-Grain White Rice.
Pro Tips For Making Instant Pot Rice Recipe 2 Cups
- Rinse the Rice: Always rinse your long-grain white rice until the water runs clear—skipping this leaves excess starch that turns your rice gummy. I learned this the hard way after a few sticky disasters.
- Use the Right Ratio: For 2 cups of rice, stick to 2.5 cups water—any more and you’ll get mushy rice, any less and it’ll burn. Sounds picky, but it works every time.
- Let It Rest: After cooking, let the rice sit for 10 minutes with the lid on—no peeking. This lets the steam redistribute, so you get fluffy grains instead of a dense clump.
- Add Fat Last: Stir in the butter or oil after cooking, not before. Adding it upfront can make the rice greasy, but mixing it in at the end gives you that perfect, subtle richness.
Regional Styles of These Flavors
Mexican-Style Rice
For a vibrant twist, sauté ½ cup diced onion and 2 minced garlic cloves in the pot before adding rice. Stir in 1 cup tomato sauce and 1 tsp cumin with the water. The 3-minute cook time stays the same, but the flavors transform completely. 🌶️
Japanese-Inspired Rice
Swap water for 2 cups dashi stock and add 1 tbsp soy sauce and 1 tsp mirin. This version pairs perfectly with sushi or teriyaki dishes. The rice will be slightly stickier, which is ideal for eating with chopsticks.
Southern-Style Rice
Add 1 cup chicken broth instead of water and include 1 bay leaf and ½ tsp smoked paprika. This creates a subtle, savory base that complement barbecue or fried chicken beautifully.
Coconut Lime Rice
Use 1 cup coconut milk and 1 cup water for the liquid. Stir in zest from 1 lime before cooking. The result is fragrant, slightly sweet rice that’s perfect with Thai or Caribbean dishes. 💛
Lemon Herb Rice
Add zest from 1 lemon and 1 tbsp fresh thyme to the water. This light, citrusy version brightens up any meal. I love this with grilled fish or chicken.
Cheesy Garlic Rice
After cooking, stir in ½ cup shredded cheddar and 1 tbsp cream cheese until melted. Add ½ tsp garlic powder for extra punch. This makes a rich, kid-friendly side dish.
Nutrition Facts
Frequently Asked Questions
Can I use brown rice instead of white?
Yes, but adjust the ratio to 1:1.25 and increase cook time to 22 minutes on high pressure. Brown rice needs more water and time to soften properly.
Why does my rice come out sticky?
Sticky rice usually means too much water or insufficient rinsing. Use exactly 2 cups water for 2 cups rice and rinse until water runs clear to remove excess starch.
Is natural release really necessary?
Yes! A 10-minute natural release lets steam finish cooking the rice evenly. Skipping this can leave the center undercooked while the outside overcooks.
Can I double the recipe?
but don’t exceed 4 cups rice total in a 6-quart Instant Pot. Keep the 1:1 ratio and the same 3-minute cook time.

- Mujadara Rice and Lentils Recipe: Earthy Spiced Lentils With Caramelized Onions - November 1, 2026
- Naija Fried Rice Recipe: Street-Style Spice With Veggie Crunch - November 1, 2026
- Mushy Rice Recipe: Fluffy Grains Transformed in Minutes - November 1, 2026