
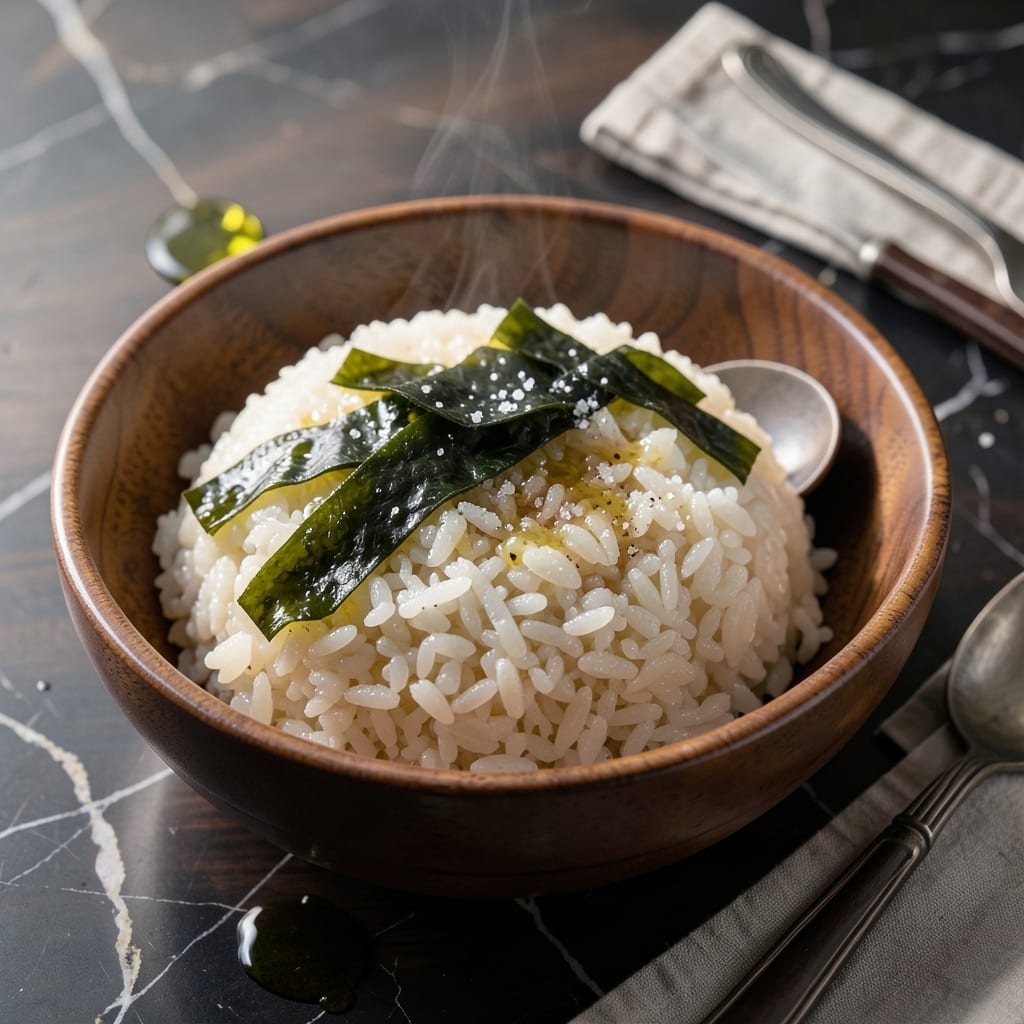
Achieving perfect Japanese sticky rice in a rice cooker is simpler than you might think. This method delivers consistent results every time with minimal effort.
The key lies in precise water ratios and proper soaking time. I’ve refined this technique through years of practice to ensure the rice emerges glossy, tender, and just the right amount of sticky.
What you’ll get is rice that holds its shape yet clings together beautifully, ideal for sushi, onigiri, or serving as a side. The rice cooker does most of the work while you focus on the details.
Serve warm for the best texture and flavor. This approach guarantees perfect results with each batch.
Ingredients for Japanese Sticky Rice Recipe Rice Cooker
Just a handful of simple ingredients stand between you and that perfect sticky texture.
| Ingredient | Amount | Notes |
|---|---|---|
| Japanese Short-Grain Rice 🍚 | 2 cups | Sushi rice or calrose variety |
| Water 💧 | 2 ½ cups | Filtered for best texture |
| Rice Vinegar 🍶 | 2 tbsp | Seasoned or unseasoned |
| Sugar 🍚 | 1 tbsp | Granulated or caster |
| Salt 🧂 | 1 tsp | Fine sea salt preferred |
| Kombu 🌿 | 1 piece | 2-inch square, optional for umami |
| Sake 🍶 | 1 tbsp | Dry variety, optional |
The rice is everything here. Koshihikari or Nishiki are the gold standard for Japanese short-grain—find them at any Asian market or the international aisle at Whole Foods. Avoid long-grain or jasmine; they won’t give you that signature cling. Kombu might seem random, but that little square (wiped clean, never rinsed) adds a subtle oceanic depth without tasting fishy.
No rice vinegar? Apple cider vinegar in a pinch (slightly different tang, but works). Skip the kombu? A splash of vegetable broth in the water adds similar depth. For sugar, coconut sugar or agave keeps it vegan if you’re avoiding refined. The sake is optional but mirin at half the amount can sub in—just reduce the sugar slightly to balance the sweetness.
Uncooked rice keeps in a sealed container for 6 months. Once cooked, it’s best fresh but holds for 3 days in the fridge. Freeze in portions for up to 1 month—microwave straight from frozen with a damp paper towel on top to revive.
Why You’ll Love This Recipe
- Set and Forget: I just rinse the rice, add water, and let the cooker do its magic—no stirring, no watching.
- Sweet-Tangy Balance: The rice vinegar, sugar, and salt mix gives it that classic sticky rice flavor I crave.
- Pairs with Everything: Honestly, it’s my base for sushi, grain bowls, or even just a side with grilled chicken.
- Leftovers Champion: I make a big batch—it reheats beautifully for lunches all week.
Step-by-Step Instructions for Japanese Sticky Rice in a Rice Cooker
Follow these simple steps to achieve perfectly tender, glossy sticky rice every single time.
Step 1: Rinse the Japanese Short-Grain Rice Thoroughly
Place the 2 cups Japanese Short-Grain Rice in a fine-mesh strainer and rinse under cold running water. I use my hand to gently agitate the grains while the water runs through. You’ll notice the water starts cloudy—that’s the excess starch washing away.
Continue rinsing until the water runs nearly clear, which usually takes 3-4 minutes. Drain completely. This step is critical for fluffy, separate grains rather than a gummy mess. Skipping this is the most common mistake when making sticky rice.
Step 2: Soak the Rice with Kombu and Sake
Transfer the rinsed rice to your rice cooker pot. Add the 2.5 cups Water, 1 piece Kombu, and 1 tbsp Sake. The kombu adds subtle umami depth, while the sake enhances the rice’s natural sweetness. Both are optional but highly recommended for authentic flavor.
Let the rice soak in this liquid for 20-30 minutes before cooking. You’ll see the grains plump slightly as they absorb some of the water. This soaking ensures even cooking and prevents hard centers in your finished rice.
Step 3: Cook the Rice to Perfect Tenderness
Start your rice cooker on the standard white rice setting. Most models will automatically switch to “keep warm” when done, which typically takes 20-25 minutes. Resist the urge to open the lid during cooking—releasing the steam can affect the texture and cooking time.
When the cooker switches off, let the rice steam for an additional 10 minutes with the lid closed. This final steaming period allows the grains to absorb any remaining moisture and achieve that signature sticky texture we’re after.
Step 4: Prepare the Seasoning Mixture
While the rice cooks, combine the 2 tbsp Rice Vinegar, 1 tbsp Sugar, and 1 tsp Salt in a small bowl. Stir until the sugar and salt completely dissolve. This sweet-salty-tangy mixture is the secret to authentic Japanese sticky rice flavor.
Taste the mixture and adjust if needed—it should be balanced, not overly sweet or salty. The vinegar might seem strong at first, but it mellows beautifully when mixed with the warm rice.
Step 5: Fold in the Seasoning and Serve
After the rice has steamed, transfer it to a large, non-reactive bowl. I use a wooden rice paddle or silicone spatula to gently fold in the seasoning mixture. Be careful not to mash the grains—use a cutting motion to distribute the seasoning evenly.
The finished rice should be glossy, tender, and slightly sticky with each grain distinct yet clinging together. Serve warm as a base for sushi, with grilled proteins, or simply on its own. The flavor improves as it sits, so don’t worry if it needs to wait a few minutes before serving.
Pro Tips For Making Japanese Sticky Rice Recipe Rice Cooker
- Rinse Thoroughly: Wash the short-grain rice in 3-4 changes of water until it runs almost clear—this removes excess starch so the grains stick just right, not like glue.
- Soak 30 Minutes: After rinsing, let the rice soak in fresh water for at least 30 minutes; I learned this the hard way when my first few batches came out unevenly cooked.
- Use Exact Water Ratio: Stick to a 1:1.1 ratio of rice to water—any more and you’ll get mush, any less and the grains stay crunchy.
- Stir the Seasoning: Mix the rice vinegar, sugar, and salt into a small bowl first, then gently fold into the cooked rice—this prevents clumps of raw seasoning in your final dish.
Perfect Pairings for japanese sticky rice recipe rice cooker
Side Dish Ideas
Pair this rice with teriyaki chicken for a classic combo—the sweet glaze soaks into the grains beautifully. I also love it with miso-glazed eggplant, where the rice balances the rich umami. 🥗
Sushi Pairings
Use this as your base for nigiri or maki rolls. The slight stickiness holds fillings perfectly. I recommend fresh tuna or cucumber for simple, elegant sushi at home. The vinegar in the rice complements the fish beautifully.
Beverage Options
Serve with green tea (hot or iced) to cut through the rice’s richness. For beer lovers, a crisp Sapporo or Asahi pairs wonderfully. The clean, light flavors won’t overpower your meal. 🍵
Protein Pairings
Try it with grilled salmon or yakiniku beef for a hearty meal. The rice absorbs the savory juices from the proteins. I often add a side of pickled vegetables for contrast.
Dessert Idea
Use leftovers for rice pudding—simmer with milk, sugar, and cinnamon. Or try mochi for a traditional Japanese treat. The slightly sweet rice works perfectly in both.
Nutrition Facts
Frequently Asked Questions
What if my rice comes out too dry?
Increase the water ratio slightly next time. For 2 cups rice, try 2.75 cups water instead of 2.5 cups. Also, ensure you’re not skipping the 20-30 minute soak before cooking.
Can I use a different type of rice?
For best results, stick with Japanese short-grain varieties like Koshihikari or Nishiki. Long-grain or jasmine won’t achieve the same sticky texture. The right rice makes all the difference!
How do I store leftover sticky rice?
Keep in an airtight container in the fridge for up to 3 days. To reheat, sprinkle a little water and microwave with a damp paper towel to restore moisture.
Why is rinsing the rice important?
Rinsing removes excess starch that would otherwise make the rice gummy. Wash until the water runs nearly clear, which typically takes 3-4 minutes. This step ensures perfectly separate, sticky grains.

- Mujadara Rice and Lentils Recipe: Earthy Spiced Lentils With Caramelized Onions - November 1, 2026
- Naija Fried Rice Recipe: Street-Style Spice With Veggie Crunch - November 1, 2026
- Mushy Rice Recipe: Fluffy Grains Transformed in Minutes - November 1, 2026