
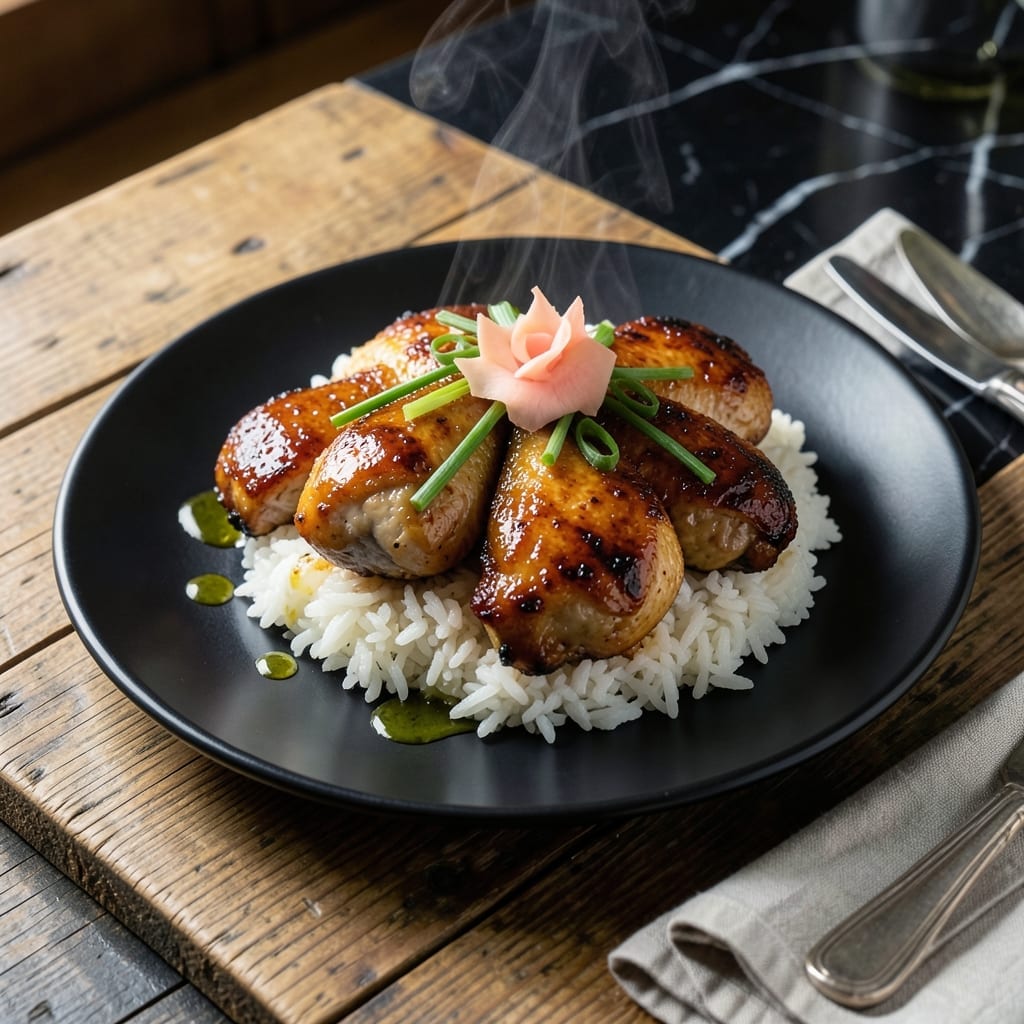
This Japanese teriyaki chicken delivers restaurant-quality flavor with a homemade glaze that’s both sweet and savory. The chicken stays juicy while the sauce caramelizes into a glossy finish.
The rice is cooked to fluffy perfection, ready to soak up every drop of that rich teriyaki. A simple stovetop method ensures tender meat and a sauce that clings to each bite.
What you’ll get is tender chicken with a sticky glaze over steamed rice that’s light yet satisfying. The balance of flavors makes it a go-to for weeknight dinners.
Serve it hot for a meal that’s as comforting as it is delicious. Here’s how to make it right.
Ingredients for Japanese Teriyaki Chicken and Rice
Tender chicken, glossy glaze, fluffy rice—this is comfort on a plate.
| Ingredient | Amount | Notes |
|---|---|---|
| Boneless Chicken Thighs 🍗 | 1 ½ lb | Skin-on or skinless okay |
| Soy Sauce 🫒 | ½ cup | Low-sodium preferred for balance |
| Mirin 🍶 | ¼ cup | Sweet Japanese rice wine |
| Sake 🍶 | ¼ cup | Dry Japanese rice wine |
| Brown Sugar 🍚 | 3 tbsp | Packed for sweetness |
| Fresh Ginger 🌿 | 1 tbsp | Peeled and grated |
| Garlic Cloves 🧄 | 3 cloves | Minced for depth |
| Jasmine Rice 🍚 | 1 ½ cups | Uncooked, rinsed well |
| Cornstarch 🌾 | 1 tbsp | For thickening glaze |
| Neutral Oil 🫒 | 2 tbsp | For searing chicken |
| Green Onions 🧅 | 3 whole | Thinly sliced for garnish |
| Sesame Seeds 🌰 | 1 tbsp | Toasted for finish |
The chicken thighs are the star here. Boneless, skin-on gives you the best of both worlds—juicy meat and crispy edges. I grab mine from Trader Joe’s (great quality for the price) or Whole Foods if I’m feeling fancy. Mirin and sake are non-negotiable for authentic flavor—look for them in the Asian aisle or H Mart (the good stuff, not the cheap imitations).
No mirin? Sweet sherry at half the amount works in a pinch. Sake can be swapped with dry white wine, but skip the cooking wine—it’s too salty. Brown sugar can be light or dark, but don’t use white (it’ll taste flat). The rice? Any long-grain works, but jasmine has that perfect fluffy texture.
The glaze thickens as it cools, so serve it hot. Leftovers keep 4-5 days in the fridge. The rice? Reheats best with a splash of water and a microwave cover. Sesame seeds toast in 2 minutes in a dry pan—don’t walk away.
Why You’ll Love This Recipe
- One Pan Meal: I just toss the chicken thighs in the soy-mirin-sake glaze, let it do its thing, and serve straight over rice—minimal dishes, maximum flavor.
- Sweet-Savory Magic: That brown sugar caramelizes with the soy and sake into this sticky, salty-sweet coating that clings to every bite of juicy chicken.
- Weeknight Hero: Honestly, it’s my Tuesday night lifesaver—ready before the rice finishes cooking, and the leftovers taste even better the next day.
- Budget Stretcher: Chicken thighs stay tender and affordable, and a little mirin and sake go a long way to make it taste like a restaurant takeout.
Step-by-Step Instructions for Japanese Teriyaki Chicken and Rice
Here’s how I make this dish with perfect glaze and fluffy rice every time.
Step 1: Cook the Rice
Rinse the 1.5 cups jasmine rice under cold water until the water runs clear. This removes excess starch so the grains stay separate. Use a 1:1.25 rice-to-water ratio in a pot and bring to a boil.
Once boiling, reduce heat to low, cover, and simmer for 15 minutes. Turn off the heat and let it sit covered for another 10 minutes—this ensures every grain is fluffy and tender. Don’t peek while it’s cooking; steam is your friend here.
Step 2: Sear the Chicken
Pat the 1.5 lb boneless chicken thighs dry with paper towels. Heat 2 tbsp neutral oil in a large skillet over medium-high heat. When the oil shimmers, add the chicken and sear for 4-5 minutes per side until golden brown.
Don’t move the chicken too soon—let it develop a crust before flipping. The internal temperature should reach 165°F when done. Transfer the chicken to a plate and set aside; it’ll finish cooking in the sauce later.
Step 3: Make the Teriyaki Glaze
In the same skillet, add the 3 cloves garlic cloves and 1 tbsp fresh ginger, sautéing for 30 seconds until fragrant. Pour in the 0.5 cup soy sauce, 0.25 cup mirin, 0.25 cup sake, and 3 tbsp brown sugar. Stir to combine and bring to a simmer.
In a small bowl, mix the 1 tbsp cornstarch with 1 tbsp water to create a slurry. Slowly whisk this into the sauce and cook for 2-3 minutes until it thickens into a glossy glaze that coats the back of a spoon.
Step 4: Glaze the Chicken and Serve
Return the chicken to the skillet, spooning the glaze over it to coat evenly. Simmer for 2-3 minutes until the chicken is fully cooked and the sauce clings to it beautifully. Slice the chicken into strips if desired.
Serve the chicken over the fluffy jasmine rice, drizzling any remaining glaze on top. Garnish with 3 whole green onions, thinly sliced, and sprinkle with 1 tbsp sesame seeds for a nutty finish. Real talk: the contrast of the sticky glaze with the tender rice is what makes this dish unforgettable.
Pro Tips For Making Japanese Teriyaki Chicken And Rice
- Sear Thighs First: Hit the boneless thighs in a scorching pan for 3-4 minutes per side until deeply golden—this locks in juices and prevents them from stewing in the sauce later.
- Reduce the Sauce: After adding soy sauce, mirin, sake, and brown sugar, let it bubble away for 5-7 minutes until thick and glossy, almost like syrup. I learned this the hard way—watery teriyaki is a sad teriyaki.
- Slice Against Grain: Once the chicken rests, slice it against the grain into 1-inch strips so every bite stays tender, not chewy. Sounds small, but it actually changes the outcome.
- Use Thighs, Not Breast: Boneless chicken thighs stay juicy even when cooked through, while breast can dry out in the sugary sauce. After ruining two batches with breast, I finally figured out why my grandmother’s version always worked.
Serving Suggestions for This japanese teriyaki chicken and rice
Garnish Like a Pro
Always finish with fresh toppings: thinly sliced green onions add a crisp bite, while toasted sesame seeds bring nutty depth. I toast mine in a dry pan for 2 minutes until golden. 🌟
Plating for Impact
Spoon a bed of fluffy jasmine rice onto a shallow bowl, then arrange the glazed chicken on top. Drizzle extra sauce in a zigzag pattern for visual appeal.
Family-Style Serving
For gatherings, serve the chicken and rice on a large platter with the glaze in a separate small bowl. Let everyone assemble their own bowls—kids love this interactive approach.
Side Dish Pairings
A simple cucumber salad with rice vinegar or steamed broccoli balances the richness. I toss 2 cups sliced cucumbers with 1 tbsp rice vinegar and a pinch of sugar.
Temperature Matters
Serve immediately while the glaze is still glossy and the rice is hot. The sauce thickens as it cools, so timing is key. I keep plates warm in the oven at 200°F.
Portion Control
This recipe serves 4 generously. For lighter portions, divide the chicken into 8 pieces and serve over ½ cup rice per person. Leftovers reheat beautifully for lunch the next day. 💛
Nutrition Facts
Frequently Asked Questions
Can I use chicken breast instead of thighs?
Yes, but thighs stay juicier. If using breasts, reduce cooking to 3-4 minutes per side to prevent dryness. They’ll still absorb the glaze well.
How do I make the sauce thicker?
Simmer the glaze longer after adding the cornstarch slurry. If it’s still thin, mix 1 tsp cornstarch with 1 tsp water and stir in. It’ll thicken as it cools.
Can I prepare this ahead of time?
Cook the chicken and glaze separately, then store in the fridge for up to 2 days. Reheat gently to keep the sauce from breaking. Rice is best fresh.
What if my sauce is too salty?
Balance it by adding 1 tbsp honey or a splash of water. Taste as you go—sweetness helps counteract excess salt.

- Jollof Rice Sauce Recipe: West African Tomato and Spice Infusion - September 25, 2026
- Japanese Rice Soup Recipe: Umami-Rich Comfort in a Bowl - September 25, 2026
- Homemade Cream Of Rice Recipe: Silk-Smooth Breakfast in Minutes - September 25, 2026