
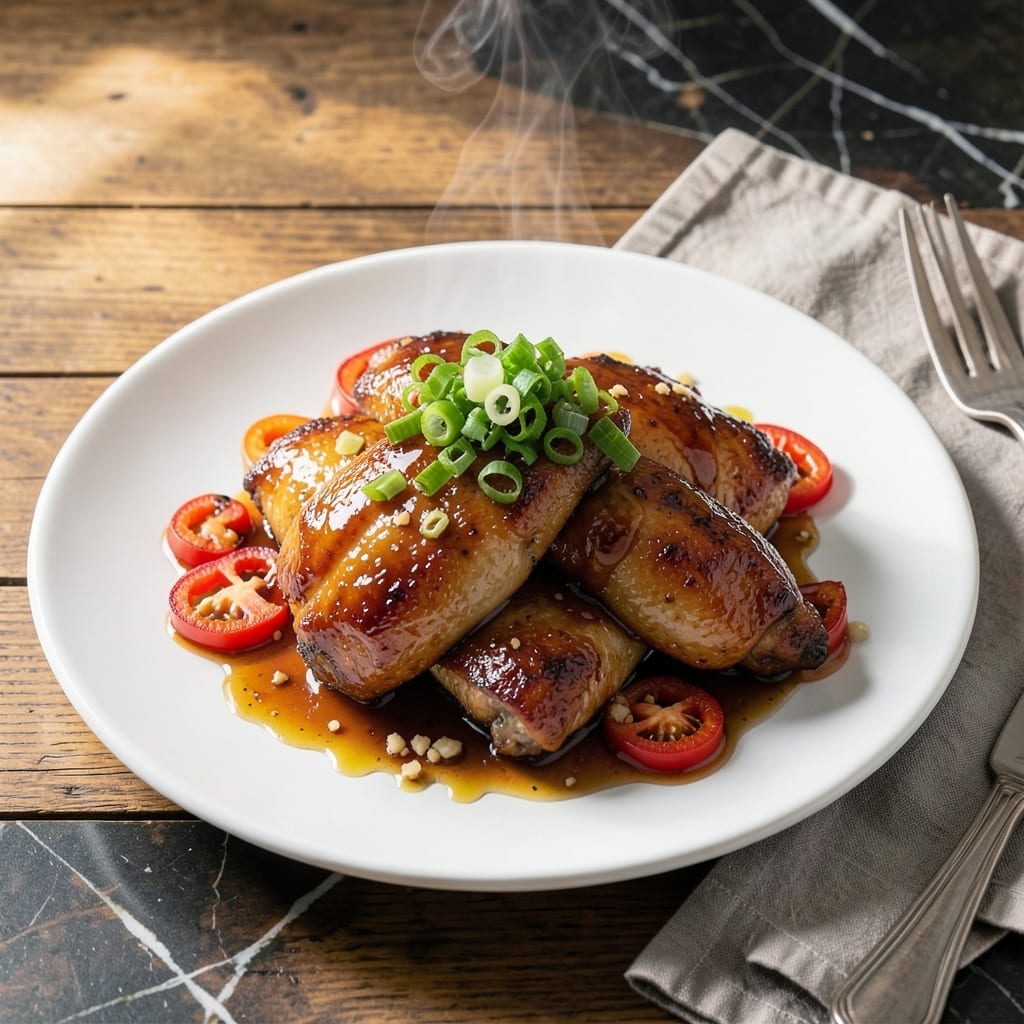
This recipe delivers juicy chicken thighs coated in a glossy, sweet-savory teriyaki glaze that beats any takeout version. I developed this method after testing countless variations to achieve that perfect balance of sticky and tender.
The secret is searing the thighs first to lock in moisture, then simmering in a homemade sauce until the meat absorbs every bit of flavor. The result is fall-off-the-bone tender chicken with a lacquered finish that’s impossible to resist.
Each bite combines the richness of dark meat with the bright, umami-packed sauce that caramelizes beautifully in the pan. The aroma alone will have everyone gathering around the table before it’s even done.
Serve it over rice with steamed vegetables for a complete meal that feels like a restaurant special. This dish keeps well and tastes even better the next day.
Ingredients for Kinders Teriyaki Chicken
Juicy thighs and a glossy teriyaki glaze come from these pantry staples plus fresh aromatics.
| Ingredient | Amount | Notes |
|---|---|---|
| Boneless Chicken Thighs 🍗 | 2 lb | Skin-on for extra flavor, trimmed |
| Soy Sauce 💧 | ½ cup | Low-sodium preferred for balance |
| Brown Sugar 🍚 | ⅓ cup | Packed for sweetness depth |
| Honey 🍯 | ¼ cup | Pure for smooth glaze texture |
| Fresh Garlic 🧄 | 4 cloves | Minced for maximum flavor |
| Fresh Ginger 🌿 | 1 tbsp | Grated fine for even distribution |
| Rice Vinegar 💧 | 2 tbsp | Balances sweetness with acidity |
| Sesame Oil 🫒 | 1 tbsp | Toasted for nutty aroma |
| Neutral Oil 🫒 | 2 tbsp | For searing thighs evenly |
| Cornstarch 🌾 | 1 tbsp | Mixed with water for slurry |
| Water 💧 | ¼ cup | For thinning sauce as needed |
| Sesame Seeds 🌰 | 1 tbsp | Toasted for garnish texture |
| Green Onions 🧅 | 3 whole | Thinly sliced for fresh finish |
The chicken thighs are key here—boneless, skin-on gives the best texture and flavor. Look for thighs with good marbling at Whole Foods or your local butcher. The soy sauce should be low-sodium to control the salt level. For the ginger and garlic, freshly grated and minced make a huge difference in the sauce’s depth of flavor.
No honey? Maple syrup or agave work in a pinch. Rice vinegar can be swapped with apple cider vinegar if that’s what you have. The sesame oil is worth hunting down at Asian markets—regular oil won’t give that signature nutty aroma. For a gluten-free version, tamari instead of soy sauce does the trick perfectly.
Store raw thighs in the fridge for up to 2 days before cooking. The sauce keeps beautifully in a jar for 1 week. Leftovers taste even better the next day—just reheat gently to keep the chicken tender.
Why You’ll Love This Recipe
- One Pan Wonder: I just toss the chicken thighs with soy sauce, brown sugar, and honey, then let the oven do the work.
- Sweet & Savory: The combo of honey and garlic creates this sticky, finger-licking glaze that’s honestly hard to resist.
- Weeknight Hero: Between us, this is my go-to for busy evenings—ready before the kids start asking for snacks.
- Budget Stretcher: Boneless thighs stay juicy and cost way less than breasts, so I can make it twice a week without guilt.
Step-by-Step Instructions for Kinders Teriyaki Chicken
Here’s the method. Straightforward, tested, works every time.
Step 1: Sear the Boneless Chicken Thighs
Heat the 2 tablespoons neutral oil in a large skillet over medium-high heat. When the oil shimmers, add the 2 lb boneless chicken thighs skin-side down. I press down gently with a spatula for 30 seconds to ensure full contact with the pan.
Cook undisturbed for 5-6 minutes until the skin is golden brown and crisp. Flip and sear the other side for 3-4 minutes. The chicken should release easily from the pan when ready. Transfer to a plate and set aside.
Step 2: Build the Teriyaki Glaze
In the same skillet, reduce heat to medium. Add the 4 cloves fresh garlic and 1 tablespoon fresh ginger, stirring constantly for 30 seconds until fragrant. Be careful not to let them burn—burnt garlic turns bitter.
Pour in the 0.5 cup soy sauce, 0.33 cup brown sugar, 0.25 cup honey, and 2 tablespoons rice vinegar. Stir well to dissolve the sugar and scrape up any browned bits from the chicken. Let it simmer for 3-4 minutes until slightly thickened.
Step 3: Thicken and Coat
In a small bowl, whisk together the 1 tablespoon cornstarch and 0.25 cup water until smooth. Slowly pour this slurry into the simmering glaze while stirring constantly. The mixture will thicken noticeably within 1-2 minutes.
Return the chicken to the skillet, skin-side up. Spoon the thickened glaze over each piece, ensuring they’re fully coated. Reduce heat to low and let it simmer for 5-6 minutes, basting occasionally, until the chicken is cooked through and the glaze has turned deep amber and glossy.
Step 4: Garnish and Serve
Drizzle the 1 tablespoon sesame oil over the chicken and glaze, then sprinkle with the 1 tablespoon sesame seeds. This adds a nutty aroma that complements the sweet and savory flavors perfectly.
Thinly slice the 3 whole green onions and scatter them over the top for a fresh, crisp finish. Serve immediately while the glaze is still glossy and the chicken is at its juiciest. The sauce should cling beautifully to each piece, with a perfect balance of sweetness and umami.
Pro Tips For Making Kinders Teriyaki Chicken
- Sear the Thighs: Get a good sear on the chicken thighs first—high heat for 3-4 minutes per side creates a flavor base that the teriyaki sauce can cling to.
- Mince Garlic Fine: Fresh garlic burns easily, so mince it finer than you think—small pieces distribute better in the sauce and won’t turn bitter during cooking.
- Simmer the Sauce: After adding soy sauce, brown sugar, and honey, let it bubble for 2-3 minutes to thicken slightly before coating the chicken; thin sauce slides right off.
- Rest Before Slicing: Give the chicken a solid 5-10 minutes off the heat before cutting, or all those juices you worked for will end up on the cutting board.
Essential Equipment for Great kinders teriyaki chicken
The Right Pan
A heavy-bottomed 12-inch stainless steel skillet is my go-to—it distributes heat evenly and develops the fond needed for rich glaze flavor. I swear by All-Clad for this. Avoid nonstick for this recipe, as you want those browned bits to stick and later dissolve into the sauce.
Essential Utensils
A fish spatula is perfect for flipping the thighs without piercing them, keeping all those juices inside. Also, have a whisk ready for the cornstarch slurry—lumps in your glaze are the enemy. I keep both within arm’s reach the entire time.
Thermometer Matters
While not mandatory, an instant-read thermometer takes the guesswork out of doneness. I aim for 175°F internal temperature in the thickest part of the thigh. The ThermoWorks ThermoPop is affordable and accurate for home cooks. 🌡️
Sauce Prep Tools
A small bowl and fork work fine for mixing your cornstarch slurry, but I prefer a mini whisk for perfectly smooth results. Also, keep a wooden spoon handy for stirring the sauce—it won’t scratch your pan like metal might.
Garnish Station
Set up a small prep area with your sesame seeds and sliced green onions ready to go. I use a small ramekin for the seeds and a sharp chef’s knife for thin onion slices. This makes the final steps effortless when the chicken is hot and ready to serve.
Optional Upgrade
If you want to take this to the next level, a cast iron skillet can add even more depth to the sear. Just be sure it’s well-seasoned and preheated properly. I reach for my Lodge 12-inch when I’m feeding a crowd. 🔥
Nutrition Facts
Frequently Asked Questions
Can I use chicken breasts instead?
Yes, but they cook faster and can dry out. Reduce searing time to 3-4 minutes per side and simmer for 4-5 minutes only. Thighs stay juicier!
How do I make the glaze thicker?
Simmer the sauce longer after adding the slurry. For extra thickness, mix an additional 1 teaspoon cornstarch with 1 tablespoon water and stir in.
What if my sauce is too salty?
Balance it with a touch more honey or brown sugar. Adding 1 tablespoon rice vinegar can also help mellow the saltiness.
Can I prep this ahead?
Make the sauce up to 2 days in advance. Cook chicken fresh, but leftovers reheat well in a skillet with a splash of water for 3-4 minutes.

- Jollof Rice Sauce Recipe: West African Tomato and Spice Infusion - September 25, 2026
- Japanese Rice Soup Recipe: Umami-Rich Comfort in a Bowl - September 25, 2026
- Homemade Cream Of Rice Recipe: Silk-Smooth Breakfast in Minutes - September 25, 2026