
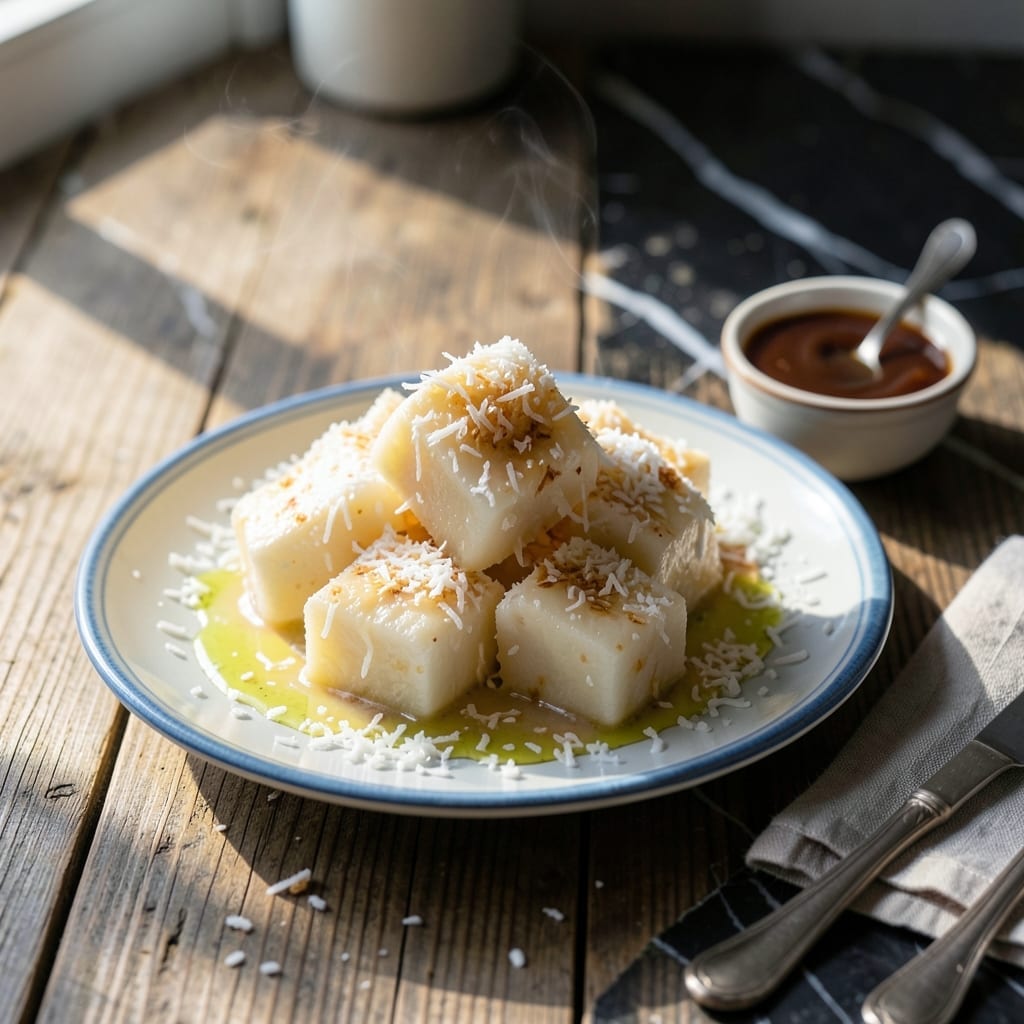
I discovered a foolproof way to make muah chee right in your rice cooker, and it’s changed how I approach this classic treat.
This method delivers perfectly chewy pillows of dough, coated in a sweet, nutty mixture, without the fuss of steaming. The rice cooker does all the work, ensuring even cooking and consistent texture every time.
You’ll end up with soft, stretchy bites that melt in your mouth, all ready in under an hour. The coconut and peanut topping adds the finishing touch, making it irresistible.
Simple ingredients, minimal effort, and a dessert that’s sure to impress. Here’s how to make it.
Ingredients for Muah Chee Recipe Rice Cooker
Simple pantry staples transform into these chewy coconut bites in your rice cooker.
| Ingredient | Amount | Notes |
|---|---|---|
| Glutinous Rice Flour 🌾 | 1 ½ cups | Also called sweet rice flour |
| Granulated Sugar 🍚 | ¼ cup | Divided for dough and coating |
| Water 💧 | ¾ cup | Warm for better mixing |
| Coconut Milk 🥥 | ½ cup | Full-fat for richness |
| Cornstarch 🌾 | 2 tbsp | For dusting work surface |
| Shredded Coconut 🥥 | 1 cup | Unsweetened, toasted |
| Crushed Peanuts 🥜 | ½ cup | Lightly salted, finely chopped |
| Brown Sugar 🍚 | 2 tbsp | For nutty coating |
| Vanilla Extract 🌿 | 1 tsp | Pure for best flavor |
| Salt 🧂 | ¼ tsp | Enhances all flavors |
| Sesame Seeds 🌰 | 1 tbsp | Toasted, for garnish |
The glutinous rice flour is non-negotiable—look for it in the Asian aisle or at H Mart. Don’t confuse it with regular rice flour; the texture won’t be the same. I’ve found Bob’s Red Mill carries a reliable version if you’re shopping online. The coconut milk should be full-fat (the canned kind) for that luscious coating. Light coconut milk just doesn’t cut it here.
No peanuts? Crushed almonds or cashews work just as well. Skip the brown sugar? Coconut sugar at a 1:1 ratio keeps the vibe. If you’re out of vanilla, a pinch of cardamom or pandan extract adds an interesting twist. The shredded coconut can be sweetened if that’s what you have, but toast it first to deepen the flavor.
Store leftovers in an airtight container at room temp for up to 2 days. They’ll firm up a bit but soften when microwaved for 10 seconds. Best eaten fresh, though—those first few hours are pure magic.
Why You’ll Love This Recipe
- One Pot Magic: I just dump everything in the rice cooker—flour, sugar, water—and let it do the work. No stirring, no fuss.
- Coconut Heaven: The coconut milk soaks into the chewy dough, making it rich and slightly sweet in every bite.
- Party or Snack: I serve these at gatherings, but honestly, I make them just for me on lazy afternoons too.
- Budget Stretch: A bag of glutinous rice flour makes multiple batches, and it’s way cheaper than buying pre-made.
Step-by-Step Instructions for Sticky Coconut Bites
This rice cooker method makes the process incredibly simple and nearly foolproof.
Step 1: Mix the Wet and Dry Ingredients
In the rice cooker pot, whisk together the 1.5 cups Glutinous Rice Flour, 0.25 cup Granulated Sugar, and 0.25 tsp Salt until fully combined. I like to sift the flour first to prevent lumps in the final texture.
In a separate bowl, combine the 0.75 cup Water, 0.5 cup Coconut Milk, and 1 tsp Vanilla Extract. Stir well, then gradually pour this mixture into the dry ingredients while whisking continuously. The batter should be smooth and slightly thick, like pancake batter.
Step 2: Steam the Dough in the Rice Cooker
Lightly grease the rice cooker pot with a neutral oil (use a paper towel to spread it thinly). Pour in the batter, smoothing the top with a spatula. Select the “Steam” or “Cake” function on your rice cooker and let it cook for 30 minutes.
Check that the center is set—it should spring back when pressed gently with a finger. If it still looks wet, steam for another 5-10 minutes. The dough will be sticky but firm enough to handle.
Step 3: Dust and Shape the Dough
Lightly dust your work surface with the 2 tbsp Cornstarch to prevent sticking. Transfer the steamed dough onto the surface and let it cool for 2-3 minutes until it’s safe to handle.
Knead the dough briefly—just enough to make it smooth and uniform in texture. Divide it into small, bite-sized pieces (about 1-inch balls) and roll them between your palms. Work quickly, as the dough will cool and become harder to shape.
Step 4: Coat with Coconut and Peanuts
In a shallow bowl, mix the 1 cup Shredded Coconut, 0.5 cup Crushed Peanuts, and 2 tbsp Brown Sugar. The sugar adds a caramelized depth to the coating.
Roll each dough ball in the mixture, pressing lightly so it adheres well on all sides. For extra crunch, double-coat by rolling the pieces a second time. The texture should be evenly covered with a generous layer of the mixture.
Step 5: Serve Warm with a Final Garnish
Arrange the coated bites on a serving plate. I like to warm them in the microwave for 10-15 seconds if they’ve cooled too much—this makes them extra gooey. Sprinkle with the 1 tbsp Sesame Seeds just before serving for a nutty aroma and visual appeal.
Serve immediately while warm. The contrast of the chewy interior and the crunchy, nutty exterior is what makes these so irresistible. Leftovers can be stored in an airtight container for up to 2 days—just reheat briefly to restore the texture.
Pro Tips For Making Muah Chee Recipe Rice Cooker
- Stir Continuously: I learned this the hard way—glutinous rice flour clumps fast in hot water, so keep stirring while mixing to avoid a lumpy mess.
- Use Warm Water: Mix the glutinous rice flour with warm (not cold) water first—it dissolves smoother and cuts your stirring time in half.
- Skip Dry Measurement: Spoon the flour into your measuring cup instead of scooping directly from the bag; packed flour makes muah chee too dense.
- Rest Before Cutting: After steaming in the rice cooker, let it sit covered for 10 minutes—this makes the texture chewy instead of gummy.
Dietary Considerations for This Recipe
Gluten-Free Friendly
This recipe is naturally gluten-free since it relies on glutinous rice flour, which contains no wheat. Always verify your flour label to ensure it’s certified gluten-free if cross-contamination is a concern. I use Bob’s Red Mill for guaranteed safety. 💪
Vegan Adaptation
To make this fully plant-based, simply swap the granulated sugar for coconut sugar—it maintains the sweetness and pairs beautifully with the coconut. The rest of the ingredients are already vegan, so no other changes are needed.
Nut Allergy Options
If peanuts are an issue, replace the crushed peanuts with toasted sesame seeds or shredded coconut alone. For a crunchy texture, try sunflower seeds instead. Always check labels for potential cross-contamination in processing facilities.
Lower Sugar Version
Cut the granulated sugar by half and use 1 tbsp brown sugar in the coating. The natural sweetness of coconut milk still shines through. I’ve tested this and found the flavor remains balanced and delicious.
Dairy-Free by Design
Since coconut milk is the only dairy-like ingredient here, this treat is inherently dairy-free. Ensure your shredded coconut and other toppings are free from milk derivatives if you have severe allergies. 🥥
Portion Control
Each 1-inch ball contains roughly 120-150 calories, making it easy to enjoy in moderation. I like to serve them in small paper liners to help with portion sizing for guests.
Nutrition Facts
Frequently Asked Questions
Can I use regular rice flour instead?
No, glutinous rice flour is essential for the chewy texture. Regular rice flour will result in a crumbly, dry dough. Look for it in Asian markets or online.
Why does my dough stick to my hands?
Keep your hands lightly dusted with cornstarch while shaping. If it’s still sticky, let the dough cool for an extra 2-3 minutes before handling.
Can I make this without a rice cooker?
Yes! Steam the batter in a lined basket over boiling water for 30-35 minutes. The rice cooker just simplifies the process.
How do I store leftovers?
Keep in an airtight container at room temperature for up to 2 days. Reheat briefly in the microwave for 10 seconds to restore texture.

- Lump Rice Recipe Sri Lanka: Traditional Island-Style Texture - November 4, 2026
- Laos Sticky Rice Recipe: Traditional Steamed Perfection - November 4, 2026
- Magic Rice Recipe: One-Pot Aromatic Wonder - November 4, 2026