
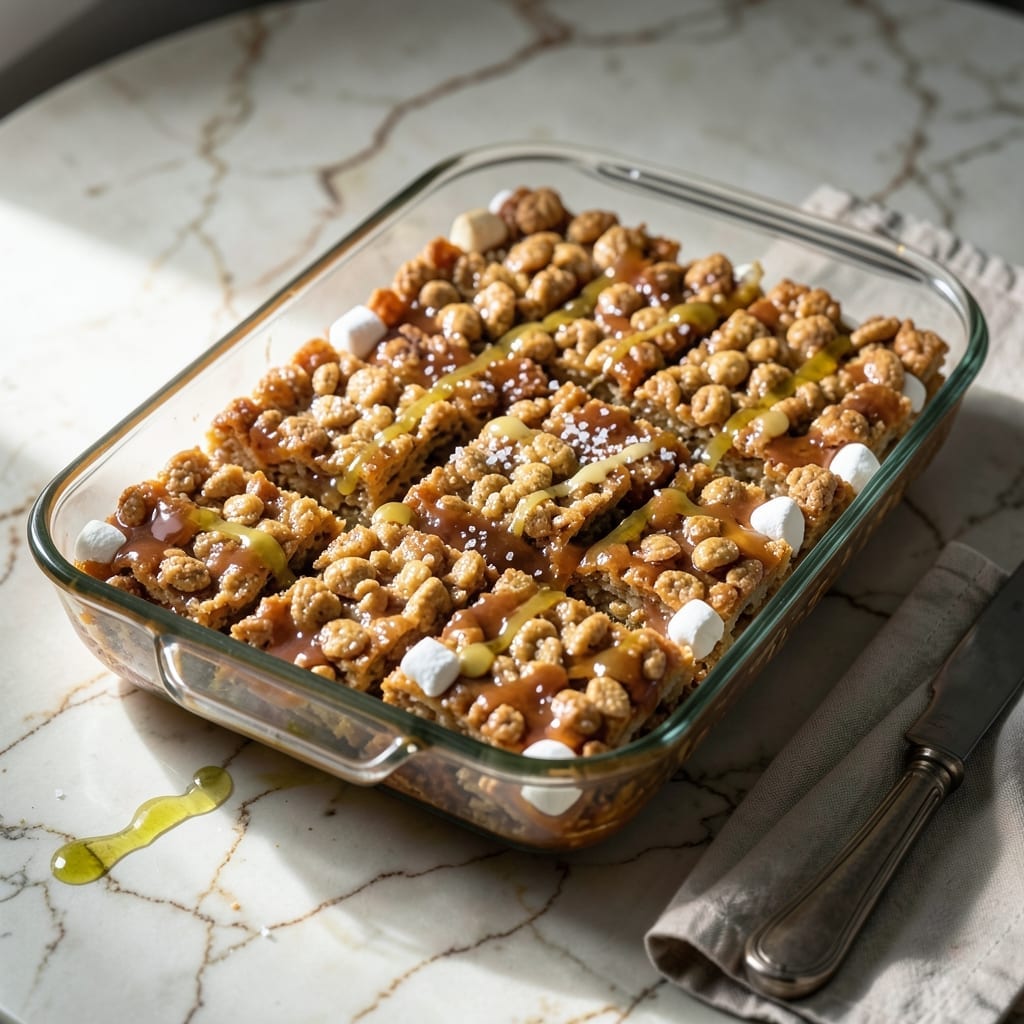
This gluten-free version delivers the same nostalgic gooey texture and sweet marshmallow flavor you remember. I developed this recipe after realizing most store-bought crisped rice cereals contain malt barley.
The secret is using certified gluten-free rice cereal and melting the marshmallows slowly for even coating. These treats set in under an hour and stay fresh for days in an airtight container.
Ingredients for Gf Rice Krispie Treats
Certified gluten-free cereal plus marshmallows create that nostalgic gooey magic you crave.
| Ingredient | Amount | Notes |
|---|---|---|
| Certified Gluten-Free Rice Cereal 🌾 | 6 cups | Crisped rice cereal, plain |
| Mini Marshmallows 🍬 | 10 oz | Regular or vegan variety |
| Unsalted Butter 🧈 | 4 tbsp | Or vegan butter alternative |
| Pure Vanilla Extract 🌿 | 1 tsp | For depth of flavor |
| Fine Sea Salt 🧂 | ¼ tsp | Balances sweetness |
| Light Corn Syrup 💧 | 2 tbsp | Optional, for extra chew |
| Powdered Sugar 🍚 | ¼ cup | For dusting, optional |
The cereal is everything here. Kellogg’s Gluten-Free Rice Krispies are the easiest to find at Walmart or Target, but Nature’s Path makes a great organic version too (look for it at Whole Foods). Skip any cereal that isn’t explicitly labeled gluten-free—malt barley loves to sneak in. The marshmallows melt best when fresh, so check the date on the bag.
No corn syrup? Honey or agave works at 1:1 ratio, but keep the heat low to prevent scorching. For vegan treats, use Dandies marshmallows and Miyoko’s butter. Want extra crunch? Stir in 1/2 cup toasted nuts or chocolate chips after melting. The vanilla can be swapped for almond extract if you prefer that flavor profile.
These set fastest at room temp—no need to refrigerate. Store in an airtight container with parchment between layers. Keeps for 3-4 days at room temperature, 1 week in the fridge. They’ll soften over time, but honestly, they never last that long.
Why You’ll Love This Recipe
- One Bowl Wonder: I melt the butter, toss in marshmallows, and stir in cereal—no fancy equipment, just a spatula and a bowl.
- Vanilla Kiss: The pure vanilla extract cuts through the sweetness, giving that warm, cozy depth to every bite.
- Potluck Hero: Honestly, these disappear faster than anything else I bring to gatherings, gluten-free or not.
- Stays Fresh: Between us, they keep for days in an airtight container—if they last that long.
Step-by-Step Instructions for GF Rice Krispie Treats
This method guarantees that perfect balance of crispy edges and gooey centers you love.
Step 1: Melt the Butter and Prepare the Base
In a large pot, melt the 4 tbsp Unsalted Butter over low heat. You want it to melt slowly without browning—this ensures a smooth base for your marshmallow mixture. Once fully melted, add the 2 tbsp Light Corn Syrup and stir to combine.
The corn syrup adds extra chewiness and helps prevent the treats from becoming too hard as they set. I’ve found that low heat is crucial here—if the butter gets too hot, it can cause the marshmallows to seize up later.
Step 2: Melt the Marshmallows Until Silky Smooth
Add the 10 oz Mini Marshmallows to the melted butter mixture. Stir constantly with a silicone spatula as they begin to melt. This is where patience pays off—keep the heat on low and resist the urge to turn it up.
The marshmallows will start to collapse and melt into the butter, creating a glossy, stretchy mixture. You’ll know it’s ready when there are no visible marshmallow lumps left and the mixture pulls away slightly from the sides of the pot. This usually takes 5-7 minutes.
Once melted, remove from heat and stir in the 1 tsp Pure Vanilla Extract and 0.25 tsp Fine Sea Salt. The vanilla adds depth, while the salt balances the sweetness perfectly.
Step 3: Fold in the Rice Cereal Evenly
Working quickly (the mixture will start to set as it cools), add the 6 cups Certified Gluten-Free Rice Cereal to the pot. Use your spatula to fold the cereal into the marshmallow mixture, pressing gently to ensure every piece is coated.
You want to distribute the cereal evenly without crushing it—this preserves the crispy texture that makes these treats so satisfying. The mixture will be thick and sticky, so a sturdy spatula is your best tool here.
Step 4: Press and Shape While Warm
Transfer the mixture to a 9×13-inch baking dish lined with parchment paper. Use the spatula or lightly greased hands to press it down evenly into the pan. I like to press firmly but not too hard—you want the treats to hold together but still have some air pockets for that perfect texture.
If the mixture starts to stick to your hands, wet them slightly with cold water and continue pressing. Work quickly while the mixture is still warm and pliable. Let it cool at room temperature for 30-45 minutes until fully set.
For a cleaner finish, dust the top lightly with the 0.25 cup Powdered Sugar once the treats are fully cooled.
Step 5: Cut and Serve
Once completely set, use a sharp knife to cut the treats into squares. For clean cuts, run the knife under hot water and wipe it dry between each slice. This prevents the marshmallow mixture from sticking to the blade.
Store in an airtight container at room temperature for up to 3 days, though they’re best enjoyed fresh. Each square will have that signature crispy-chewy contrast with a perfect balance of sweetness and a hint of vanilla warmth.
Pro Tips For Making Gf Rice Krispie Treats
- Melt Butter Low: Keep the heat on medium-low when melting the butter for the marshmallows—too high and they’ll scorch before fully melting. I learned this the hard way after ruining a batch with burnt, bitter edges.
- Press While Warm: Work fast to press the mixture into the pan while it’s still warm and sticky; once it cools, it sets hard and won’t bind as well. A buttered spatula or your clean hands (lightly greased) make this easier.
- Use Fresh Marshmallows: Skip the stale mini marshmallows—they melt unevenly and can make your treats grainy. Fresh ones melt smooth and stretchy, which is non-negotiable for that perfect chewy texture.
- Add Salt Last: Sprinkle the fine sea salt over the top after pressing the mixture into the pan, not while melting. This way, you control the distribution and avoid over-salting any one bite.
Health Benefits of This Dish
Gluten-Free Benefits
These treats are perfect for anyone with celiac disease or gluten sensitivity. By using certified gluten-free rice cereal, you avoid the malt barley found in traditional versions, making this a safe, delicious option without sacrificing texture or flavor. 💪
Lower in Fat
Compared to many baked desserts, this recipe is relatively light. The 4 tbsp unsalted butter spreads across 24 servings, keeping the fat content modest. You can even reduce it further by using a butter alternative.
Energy Boost
The combination of rice cereal and marshmallows provides quick carbohydrates for an energy lift. The cereal adds a touch of iron and B vitamins, making these more than just an empty-calorie treat.
No Artificial Additives
When you use mini marshmallows and pure vanilla extract, you control the ingredients. Skip the artificial colors or preservatives often found in store-bought versions. I always check labels to ensure clean, simple components.
Portion-Control Friendly
Cutting into small squares makes it easy to enjoy a sweet bite without overindulging. At about 100-120 calories per treat, you can satisfy a craving guilt-free. These are my go-to for portioned snacking. ✨
Vegan Adaptability
Swapping in vegan butter and plant-based marshmallows like Dandies makes this recipe fully plant-based. The texture and taste remain just as delightful, so everyone can enjoy these treats.
Nutrition Facts
Frequently Asked Questions
Can I use regular Rice Krispies instead of gluten-free?
No, regular Rice Krispies contain malt barley, which has gluten. Always use certified gluten-free rice cereal to keep these treats safe for gluten-sensitive individuals. Brands like Kellogg’s GF or Nature’s Path are reliable options.
How do I make these treats vegan?
Swap the butter for a vegan alternative like Miyoko’s and use Dandies marshmallows. The texture and taste will be identical to the original version. No other changes are needed!
Why are my treats hard instead of gooey?
This usually happens if the marshmallows are overheated. Always melt them on low heat and stir constantly. Adding 2 tbsp corn syrup can also help maintain that soft, chewy texture.
How long do these stay fresh?
Stored in an airtight container at room temperature, they’ll stay fresh for 3-4 days. For longer storage, refrigerate for up to 1 week, though they’re best enjoyed fresh.

- Fried Rice Mix Recipe: Customizable Pantry Staple for Quick Meals - October 6, 2026
- Fruit Loop Rice Crispy Treats Recipe: Colorful Crunch With Marshmallow Magic - October 6, 2026
- Erewhon Rice Balls Recipe: Copycat Crispy and Creamy Bites - October 6, 2026