
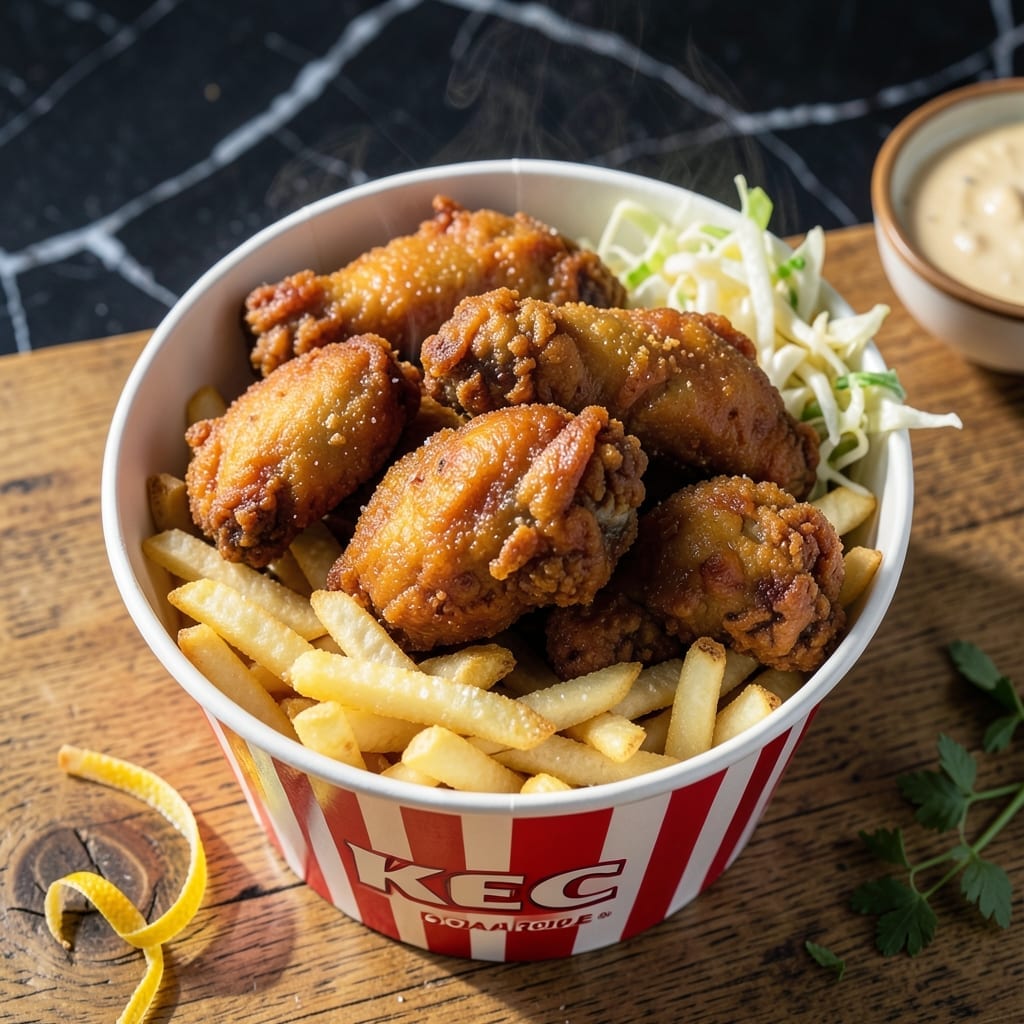
I’ve spent years perfecting this homemade version of the iconic 11-herb fried chicken, and the result is crispy, golden perfection every time. The secret lies in the precise blend of spices and a double-frying technique that locks in juiciness while creating that signature crunch.
This recipe stays true to the original with a carefully balanced mix of herbs and spices, ensuring each bite delivers the familiar, addictive flavor. The chicken emerges from the oil with a shatteringly crispy coating that gives way to tender, succulent meat underneath.
Serve it straight from the fryer in a bucket for the full experience, alongside classic sides like mashed potatoes and coleslaw. The aroma alone will have everyone gathering around the table.
The method is straightforward but demands attention to detail, especially maintaining the oil temperature for consistent results.
Ingredients for Kfc Original Recipe Chicken Bucket
Eleven herbs and spices create that unmistakable crispy, golden crunch everyone loves.
| Ingredient | Amount | Notes |
|---|---|---|
| Chicken Thighs 🍗 | 3 lb | Boneless, skin-on, cut into pieces |
| Chicken Breasts 🍗 | 1 ½ lb | Boneless, skin-on, cut into strips |
| Buttermilk 🥛 | 2 cups | Full-fat for tenderness and tang |
| All-Purpose Flour 🌾 | 2 cups | For crispy coating base |
| Cornstarch 🌽 | ½ cup | For extra crunch |
| Salt 🧂 | 1 tbsp | Diamond Crystal kosher preferred |
| Black Pepper 🌶️ | 1 tbsp | Freshly ground for best flavor |
| Dried Thyme 🌿 | 1 tsp | Rubbed between fingers to release oils |
| Dried Basil 🌿 | 1 tsp | Crushed before adding |
| Dried Oregano 🌿 | 1 tsp | Mediterranean variety preferred |
| Celery Salt 🧂 | 1 tsp | Essential for authentic flavor |
| Dried Mustard 🌿 | 1 tsp | Ground mustard also works |
| Garlic Powder 🧄 | 1 tsp | Not garlic salt |
| Paprika 🌶️ | 1 tsp | Sweet or smoked variety |
| Ground Ginger 🌿 | ½ tsp | Freshly ground if possible |
| White Pepper 🌶️ | ½ tsp | For authentic KFC depth |
| MSG 🧂 | ½ tsp | Optional but traditional |
| Vegetable Oil 🫒 | 8 cups | For frying, peanut oil works too |
The chicken is everything here. Thighs and breasts with skin-on deliver the juiciest results—Costco or Sam’s Club are great for bulk purchases. Buttermilk is non-negotiable; full-fat from a trusted dairy ensures maximum tenderness. For the flour, King Arthur all-purpose is consistently reliable. The spice blend demands precision—Penzeys or McCormick offer the freshest dried herbs.
No buttermilk? Whole milk with 1 tbsp vinegar per cup works in a pinch. Swap cornstarch for arrowroot powder at 1:1 ratio. Celery salt can be made by mixing equal parts salt and celery seed. If avoiding MSG, a pinch of umami boosters like soy sauce powder helps. The oil must hit 350°F—use a thermometer for accuracy.
The spice mix keeps in an airtight container for 3 months. Marinate the chicken overnight for deeper flavor. Leftovers? Reheat in a 400°F oven for 10 minutes to revive the crunch. Never microwave—it’ll turn soggy.
Why You’ll Love This Recipe
- One Bowl Magic: I mix the buttermilk and flour right in the same bowl I’ll dredge the chicken in—no extra dishes, no fuss.
- That Secret Crunch: The cornstarch in the coating gives it that addictive crispy shell while keeping the inside juicy.
- Feeds a Hungry Table: I’ve served this for game nights, birthdays, even lazy Sundays, and it’s always the first thing gone.
- Leftovers? No Problem: Honestly, it tastes just as good cold the next day, straight from the fridge on a sandwich or salad.
Step-by-Step Instructions for KFC-Style Fried Chicken Bucket
Master the technique for achieving that signature crispy coating and tender meat every time.
Step 1: Brine the Chicken in Buttermilk
Combine the 3 lb Chicken Thighs and 1.5 lb Chicken Breasts with all 2 cups Buttermilk in a large bowl. I use full-fat buttermilk for maximum tenderness and that subtle tang that defines this style of chicken.
Ensure every piece is fully submerged. Cover and refrigerate for at least 4 hours, or overnight for optimal flavor penetration. This step is non-negotiable—it not only tenderizes but also helps the coating adhere properly during frying.
Step 2: Prepare the 11-Herb Seasoned Flour
In a large shallow dish, whisk together the 2 cups All-Purpose Flour, 0.5 cup Cornstarch, 1 tbsp Salt, 1 tbsp Black Pepper, 1 tsp Dried Thyme, 1 tsp Dried Basil, 1 tsp Dried Oregano, 1 tsp Celery Salt, 1 tsp Dried Mustard, 1 tsp Garlic Powder, and 1 tsp Paprika.
Add the 0.5 tsp Ground Ginger, 0.5 tsp White Pepper, and 0.5 tsp MSG. The cornstarch is the secret to that extra crunch, while the blend of herbs and spices creates the iconic flavor profile. Rub the dried herbs between your fingers as you add them to release their essential oils.
Step 3: Dredge and Rest the Chicken
Remove each piece of chicken from the buttermilk, allowing the excess to drip off, then dredge it thoroughly in the seasoned flour mixture. Press firmly to ensure the coating adheres completely to every crevice.
Place the dredged chicken on a wire rack set over a baking sheet. Let it rest for 15-20 minutes at room temperature. This resting period allows the coating to set slightly, which prevents it from falling off during frying and contributes to a thicker, crispier crust.
Step 4: Fry to Golden Perfection
Heat the 8 cups Vegetable Oil in a large, heavy-bottomed pot or Dutch oven to 350°F. Use a deep-fry thermometer for accuracy—temperature control is critical for even cooking and preventing greasy chicken.
Working in batches to avoid crowding, carefully lower the chicken into the hot oil. Fry the Chicken Thighs for 14-16 minutes and the Chicken Breasts for 12-14 minutes, turning occasionally, until the coating is deep golden brown and the internal temperature reaches 165°F.
Drain the fried chicken on a wire rack or paper towels. The rack method prevents the crust from becoming soggy by allowing air to circulate underneath. Let it rest for 5 minutes before serving to allow the juices to redistribute.
Pro Tips For Making Kfc Original Recipe Chicken Bucket
- Double-Fry for Crisp: Fry the chicken once at 325°F until cooked, then rest it 5 minutes before frying again at 375°F for 2-3 minutes. I learned this the hard way—single frying leaves the crust sad and soggy.
- Buttermilk Overnight: Soak the chicken in buttermilk for at least 12 hours, not just 30 minutes. After burning a batch that wouldn’t crisp, I finally realized the marinade time actually changes the outcome.
- Skip the Crowding: Fry in small batches—4 pieces max in a standard pot. Steer clear of overloading or the oil temp drops and you’ll get greasy, limp coating instead of that signature crunch.
- Cornstarch Boost: Replace 20% of the flour with cornstarch in your dredge. Sounds weird, but it works: the crust stays shatteringly crisp long after frying.
Storing and Reheating This Dish
Refrigerator Storage
Let your fried chicken cool completely before storing. Use airtight containers or zip-top bags to maintain freshness. It will keep in the fridge at 40°F or below for up to 4 days. I find the flavor actually deepens overnight as the spices meld. ❄️
Freezer Storage
For longer storage, freeze in single layers on a baking sheet first, then transfer to freezer bags. This prevents pieces from sticking together. It’ll stay fresh for up to 3 months. Squeeze out excess air to prevent freezer burn.
Oven Reheating
Preheat your oven to 400°F and place chicken on a wire rack over a baking sheet. Heat for 10-12 minutes until crispy and warmed through. This method restores the crunch better than any other. I always check the internal temperature reaches 165°F.
Air Fryer Revival
Set your air fryer to 375°F and reheat in batches for 4-5 minutes. Shake the basket halfway through for even crisping. This works great for smaller portions and keeps the coating perfectly crunchy. 🔥
Avoid the Microwave
Never microwave your leftover chicken—it’ll turn the coating soggy in seconds. The moisture from microwaving ruins the texture you worked so hard to achieve. Stick to dry-heat methods for best results.
Nutrition Facts
Frequently Asked Questions
What oil works best for frying?
Use vegetable oil or peanut oil for authentic flavor. Both handle 350°F well without smoking. Avoid olive oil—its low smoke point makes it unsuitable.
Can I bake instead of frying?
Yes, but texture differs. Bake at 400°F for 25-30 minutes on a rack for air circulation. The crust won’t be as crispy, but it’s a healthier option.
Why did my coating fall off?
Common causes: skipping the 15-20 minute rest after dredging or oil temperature too low. Ensure oil hits 350°F before frying and don’t overcrowd the pot.

- Jollof Rice Sauce Recipe: West African Tomato and Spice Infusion - September 25, 2026
- Japanese Rice Soup Recipe: Umami-Rich Comfort in a Bowl - September 25, 2026
- Homemade Cream Of Rice Recipe: Silk-Smooth Breakfast in Minutes - September 25, 2026