
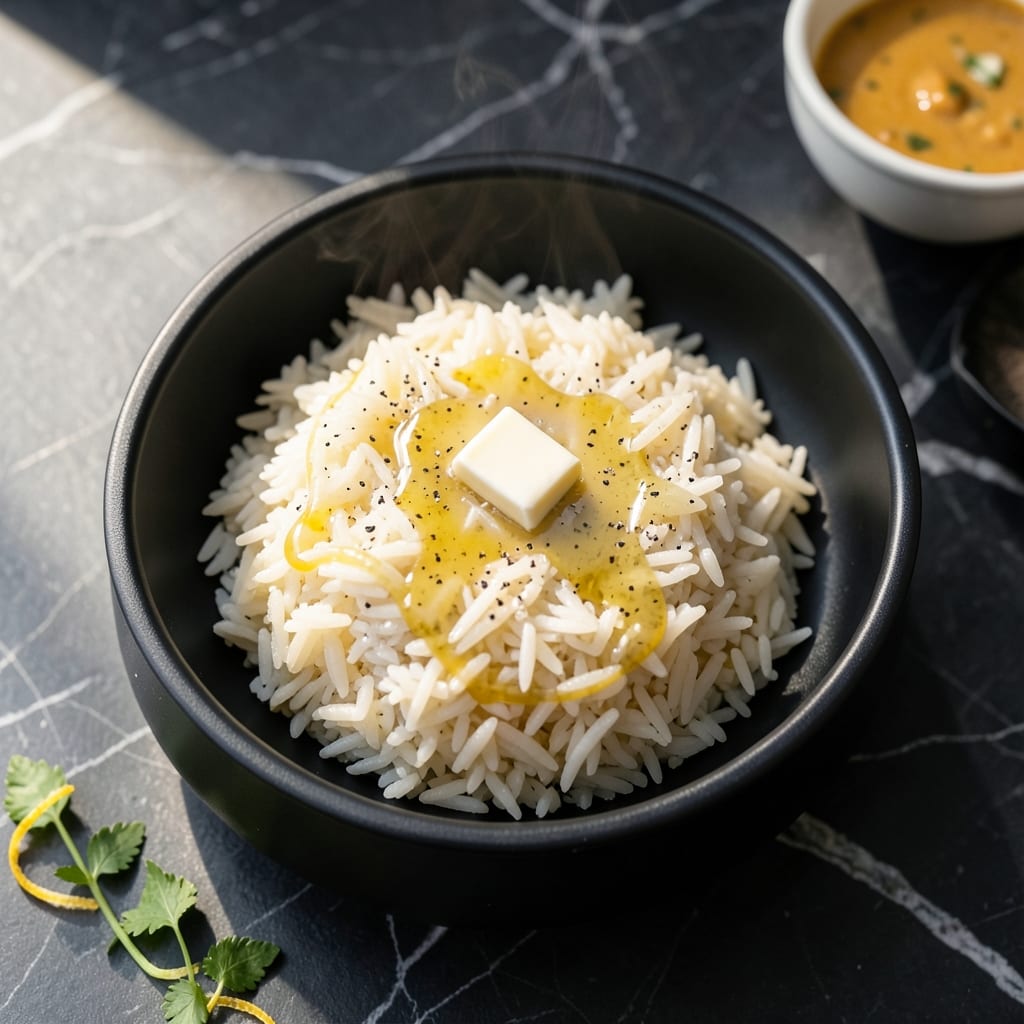
This method delivers perfectly steamed rice in your MyMini noodle cooker every time. The compact appliance transforms basic rice into fluffy, tender grains with minimal effort.
The key is precise water measurement and timing. Unlike stovetop methods, this approach eliminates guesswork while maintaining consistent results. No more undercooked or mushy outcomes.
You’ll achieve restaurant-quality texture with the push of a button. The cooker’s controlled environment ensures even cooking and optimal moisture retention.
Ideal for singles or small households, this technique works for white, jasmine, or basmati varieties. Follow these steps for foolproof rice.
Ingredients for Mymini Noodle Cooker Rice
Simple ingredients transform into restaurant-quality rice with minimal effort in your appliance.
| Ingredient | Amount | Notes |
|---|---|---|
| White Long-Grain Rice 🍚 | 1 cup | Rinsed thoroughly before cooking |
| Water 💧 | 1 ½ cups | Filtered for best results |
| Kosher Salt 🧂 | ¼ tsp | Diamond Crystal preferred |
| Unsalted Butter 🧈 | 1 tbsp | Optional, for serving |
| Neutral Cooking Oil 🫒 | ½ tsp | For greasing cooker bowl |
| Jasmine Rice 🍚 | 1 cup | Alternative grain option |
| Basmati Rice 🍚 | 1 cup | Alternative grain option |
| Garlic Powder 🧄 | ¼ tsp | Optional seasoning boost |
| Onion Powder 🧅 | ¼ tsp | Optional seasoning boost |
| Dried Parsley 🌿 | ½ tsp | For garnish, optional |
The rice quality matters here. Long-grain white rice yields the fluffiest results, but jasmine or basmati work equally well for aromatic variations. Avoid instant or minute rice—it turns mushy. For best texture, rinse thoroughly until water runs clear. This removes excess starch that could make grains clump together.
No MyMini cooker? A standard rice cooker works the same way. Water ratio is critical—1.5 cups per 1 cup rice for white varieties. For brown rice, increase to 2 cups water. Want extra flavor? Swap water for low-sodium chicken broth. The butter is optional but adds richness (use vegan butter if preferred).
Uncooked rice stores indefinitely in a cool, dry place. Once cooked, it keeps 4-5 days refrigerated. Freeze for up to 6 months in airtight containers. Reheat with a splash of water to restore moisture. The cooker bowl should be cleaned after each use to prevent residue buildup.
Why You’ll Love This Recipe
- I’ll be real: it makes enough for two meals, and the rice reheats just as fluffy as day one.
- Set It and Forget: I toss the rice, water, and a pinch of salt into my Mini Noodle Cooker, press start, and walk away—no stirring, no watching, just perfect rice every time.
- Buttery Goodness: The unsalted butter melts right into the grains, giving it this rich, comforting flavor that plain rice just can’t compete with.
- Weeknight Hero: Between us, this is my Tuesday night lifesaver—pairs with everything from stir-fry to grilled chicken without a second thought.
Step-by-Step Instructions for MyMini Noodle Cooker Rice
Master the technique for flawless steamed grains using your compact appliance.
Step 1: Prepare the Cooker and Rinse the Rice
Begin by lightly greasing the inner bowl of your MyMini Noodle Cooker with 0.5 tsp Neutral Cooking Oil. This prevents sticking and ensures easy release of the finished rice. I use a paper towel to spread it evenly across the bottom and sides.
Rinse 1 cup White Long-Grain Rice thoroughly under cold water until the water runs clear. This removes excess starch, which can make the rice gummy. Drain completely before adding to the cooker—any residual water will throw off your liquid ratio.
Step 2: Season and Add Liquids
Transfer the rinsed rice to the greased cooker bowl. Add 0.25 tsp Kosher Salt, 0.25 tsp Garlic Powder, and 0.25 tsp Onion Powder if using. These seasonings enhance the rice’s natural flavor without overpowering it.
Pour in 1.5 cups Water—filtered if possible for the cleanest taste. The water should cover the rice by about ½ inch. Stir gently to distribute the seasonings, then level the rice with the back of a spoon for even cooking.
Step 3: Cook Until Water Absorbs
Secure the lid on your MyMini Noodle Cooker and set it to the rice function. The cooking time will typically range from 15-20 minutes, depending on your specific model. You’ll hear the water bubbling vigorously at first, then the sound will diminish as it absorbs.
Resist the urge to open the lid during cooking. The steam trapped inside is critical for proper texture. You’ll know it’s nearing completion when the bubbling sound stops entirely and only a faint hissing remains.
Step 4: Rest and Fluff
Once the cooking cycle completes, let the rice rest with the lid on for an additional 5-10 minutes. This allows the grains to steam in their own moisture, becoming fully tender and separate. The rice should appear slightly domed in the center when ready.
After resting, open the lid and fluff the rice gently with a fork. You should see individual, distinct grains that hold their shape. If using, add 1 tbsp Unsalted Butter now and fold it in for extra richness.
Step 5: Garnish and Serve
Transfer the rice to serving bowls. For a finished touch, sprinkle with 0.5 tsp Dried Parsley if desired. The grains should be tender but not mushy, with a subtle sheen from the absorbed moisture.
Serve immediately while hot. For alternative grains, use the same method with 1 cup Jasmine Rice or 1 cup Basmati Rice, adjusting water to 1.25 cups for jasmine and 1.5 cups for basmati to account for their different absorption rates.
Pro Tips For Making Mymini Noodle Cooker Rice
- Rinse the Rice: I learned this the hard way—skipping the rinse leaves your rice gummy. A quick 30-second swirl under cold water removes excess starch and guarantees fluffier grains.
- Use the Right Ratio: For the mymini noodle cooker, stick to 1:1.25 rice-to-water ratio—about 1 cup rice to 1 1/4 cups water. After burning a batch with too much water, I finally got this dialed in.
- Watch the Steam: Resist the urge to peek while cooking. Opening the lid releases steam and drops the temperature, which turns your rice uneven and mushy.
- Butter at the End: Sounds weird, but it works: stir in the unsalted butter after cooking, not before. This keeps the rice from absorbing too much fat and staying light and separate.
Wine and Beer Pairings for This Dish
Light Beer Pairings
Crisp, refreshing lagers complement the clean flavors of this dish beautifully. I love Corona Premier with its light body and subtle citrus notes. Heineken also works well with its mild bitterness cutting through any richness. 🍺
Asian-Inspired Pairings
For jasmine rice variations, try a Sapporo or Asahi. These Japanese beers have a delicate sweetness that matches the rice’s aroma. Their carbonation cleanses your palate between bites.
White Wine Options
A chilled Pinot Grigio offers crisp acidity that balances the dish’s simplicity. I prefer Italian versions like Santa Margherita. Sauvignon Blanc from New Zealand adds a zesty, citrusy contrast. 🍷
Red Wine Alternatives
Light-bodied reds like Pinot Noir work if you prefer wine. The 13% ABV won’t overpower the rice. Beaujolais offers fruity notes that pair nicely with buttered rice.
Non-Alcoholic Choices
Sparkling water with lime wedge provides refreshing contrast. Iced green tea with 1 tsp honey complements the subtle flavors. Both options cleanse your palate between bites.
Nutrition Facts
Frequently Asked Questions
Can I cook brown rice in the MyMini?
Yes, but use 2 cups water per 1 cup brown rice and extend cooking to 30-35 minutes. The extra time and liquid account for the denser grain structure.
Why does my rice turn out mushy?
This usually happens from using too much water or not rinsing the rice first. Stick to the 1.5:1 water-to-rice ratio for white varieties and always rinse to remove excess starch.
Can I add vegetables to the cooker?
Add diced veggies with the rice, but use 1.75 cups water to account for their moisture. Frozen vegetables work too—just thaw and drain first.
How do I clean the cooker bowl?
Let it cool completely, then soak in warm, soapy water for 10 minutes. Use a soft sponge to avoid scratching the non-stick surface. Never use abrasive cleaners.

- Lump Rice Recipe Sri Lanka: Traditional Island-Style Texture - November 4, 2026
- Laos Sticky Rice Recipe: Traditional Steamed Perfection - November 4, 2026
- Magic Rice Recipe: One-Pot Aromatic Wonder - November 4, 2026